
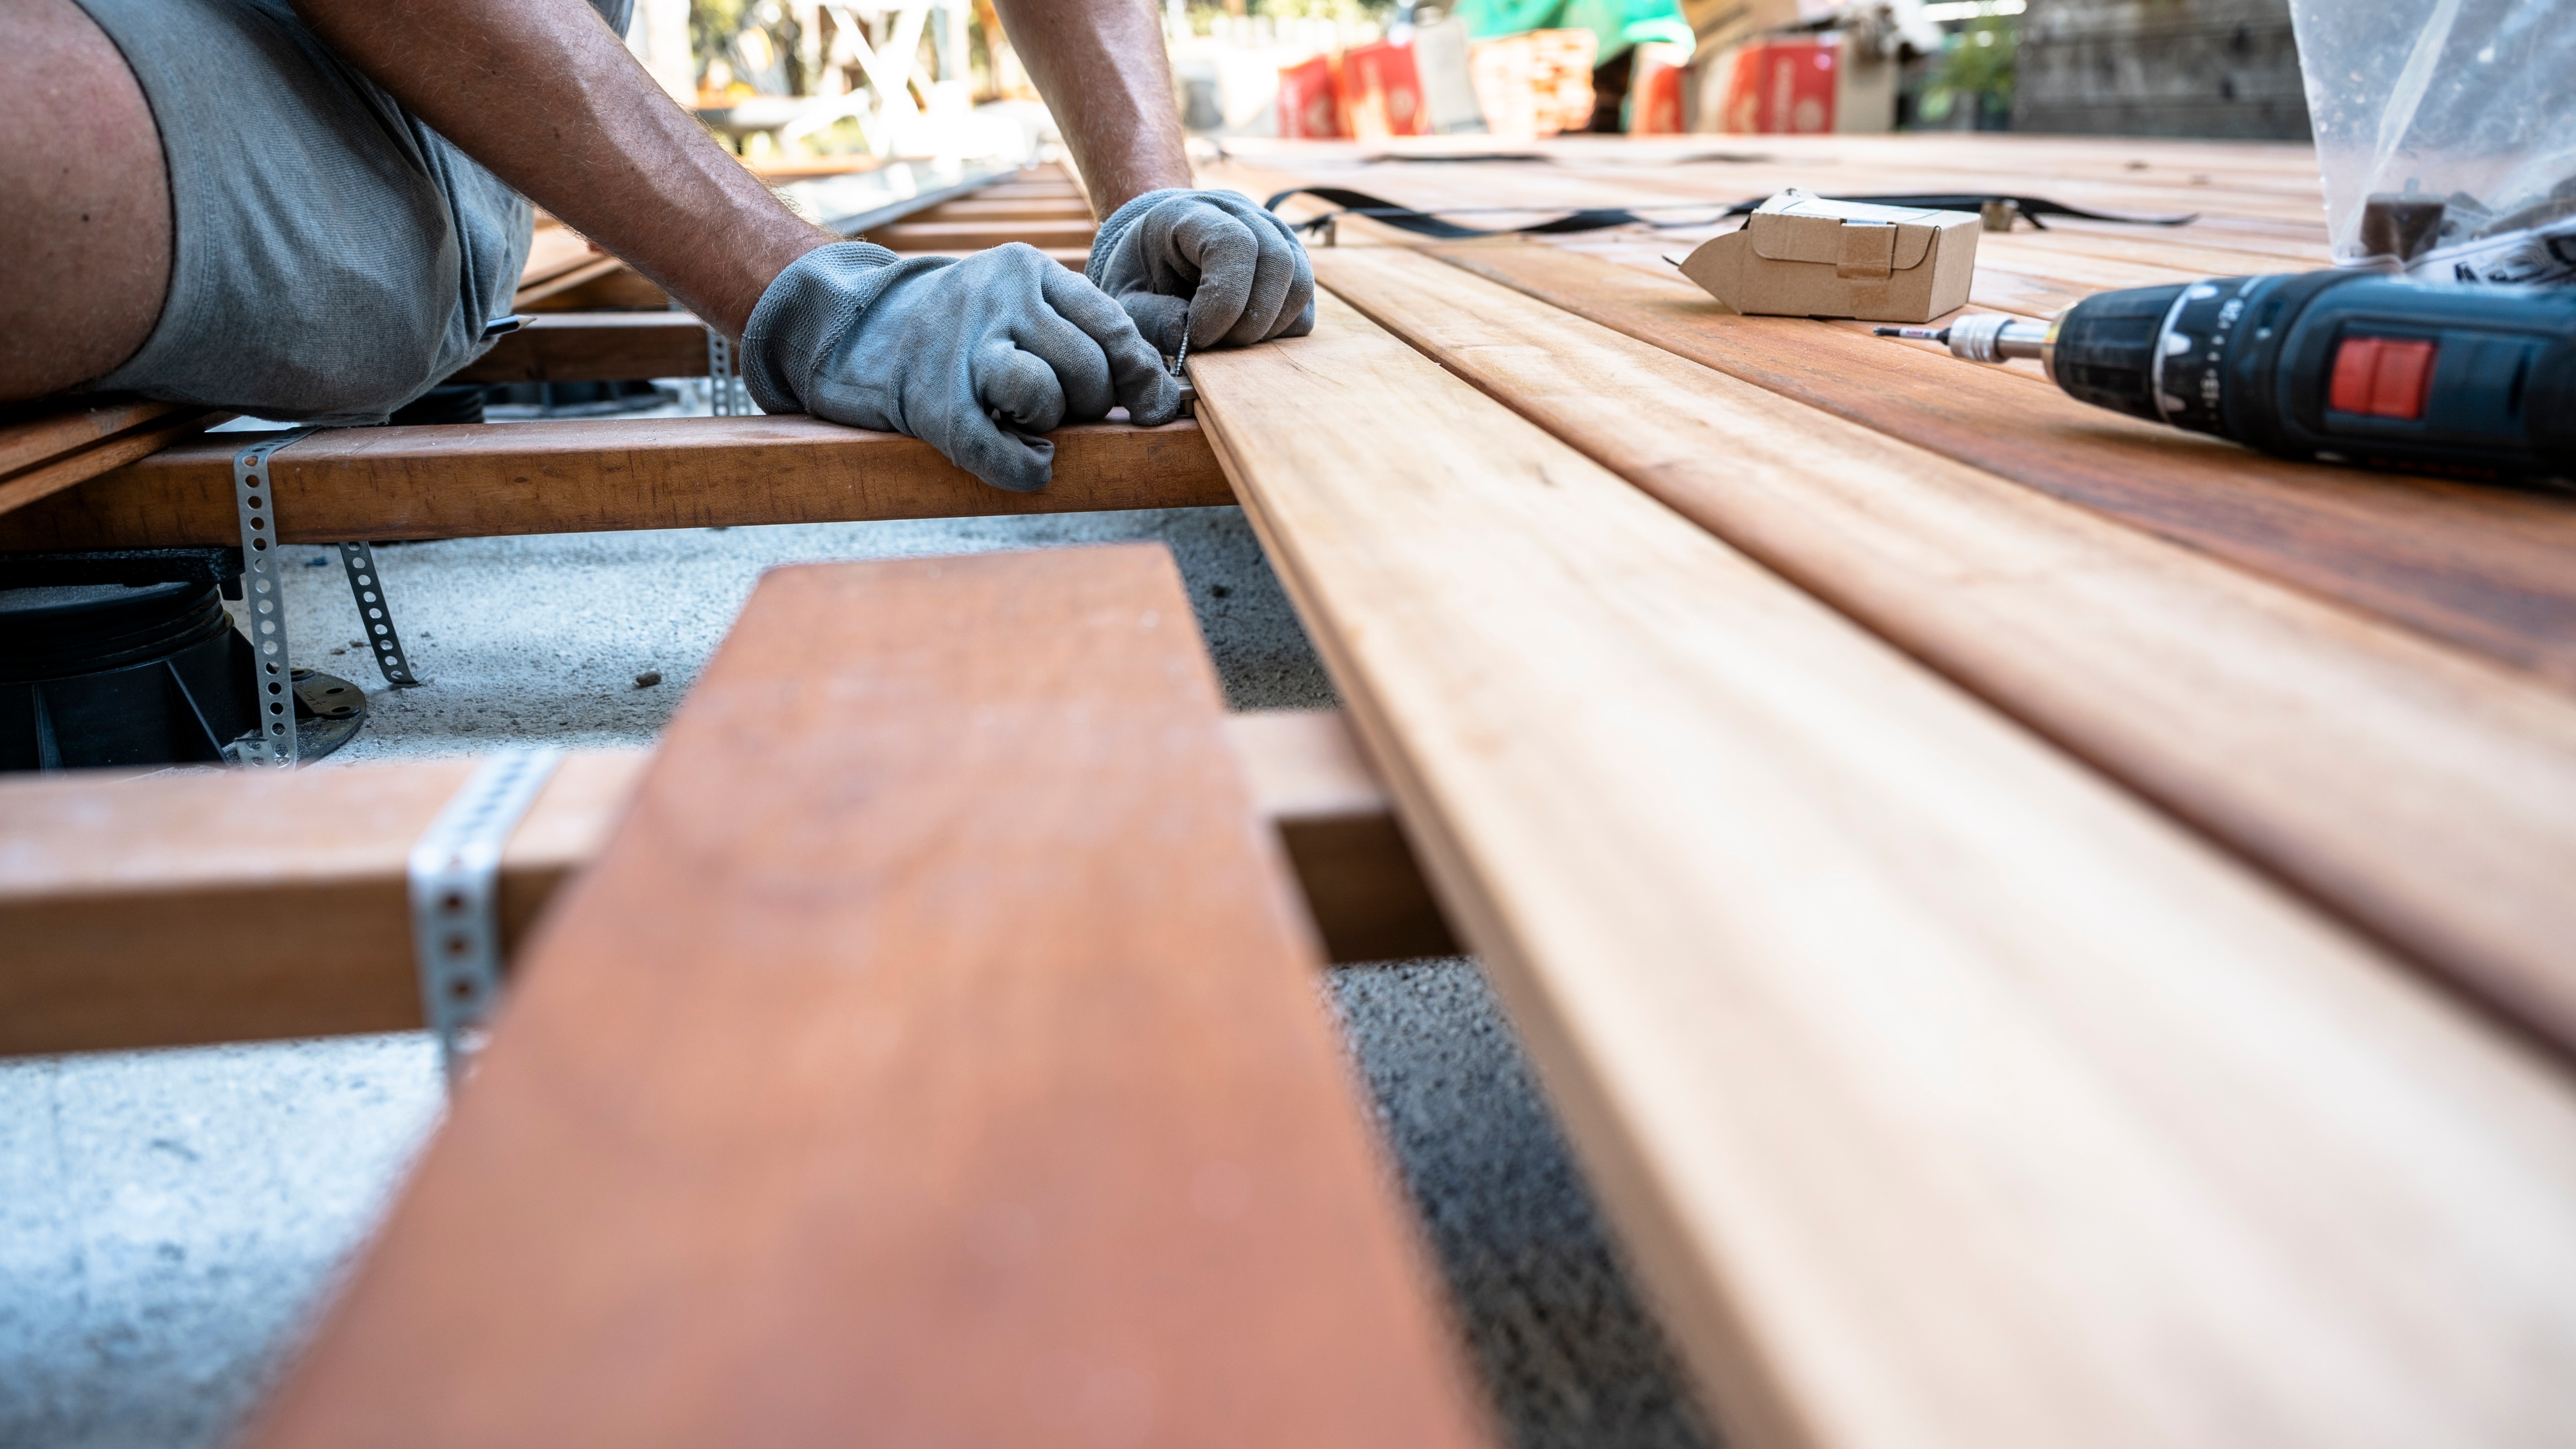
There’s nothing more satisfying than building your own deck. A well-laid decking area transforms dingy gardens into somewhere you’ll actually want to sit - whether it’s just a quiet coffee in the morning, summer BBQs, or even somewhere to relax with a good book.
The good news is that laying decking is one of the most easily achieved DIY projects, even if you are new to home improvement.
This bear essentials guide from the experts at NWTT walks you through every step, from planning and preparing the ground to building the frame, laying the decking boards, and maintaining it.
What you’ll need
Use our easy-to-screenshot or print table to keep you on track when shopping - you don’t want to get halfway through and realise you need to pop out for something!
| Tools | Materials |
|
|
Before you start
A bit of planning upfront might seem unexciting, but it saves real headaches in the future. Before you do anything - including hitting the shops - you should:
- Pick the right spot
Think about where it gets the most sun, whether the ground is stable, and if there are any obstacles, like manhole covers, airbricks, or large tree roots that would get in the way!
- Draw your dream deck
A rough sketch can help you work out how many boards or joists you need, for example. Measure the area in square metres and allow a little for cutting errors and waste.
- Check the damp proof course (DPC)
If you intend to put your deck across the house, the top surface must be at least 150mm below the DPC. Going above this can cause damp problems indoors.
- Planning permission
Most domestic decks fall under Permitted Development and don’t need planning permission. If your deck will be more than 300mm off the ground, or you live in a listed building or conservation area, check with your local council first.
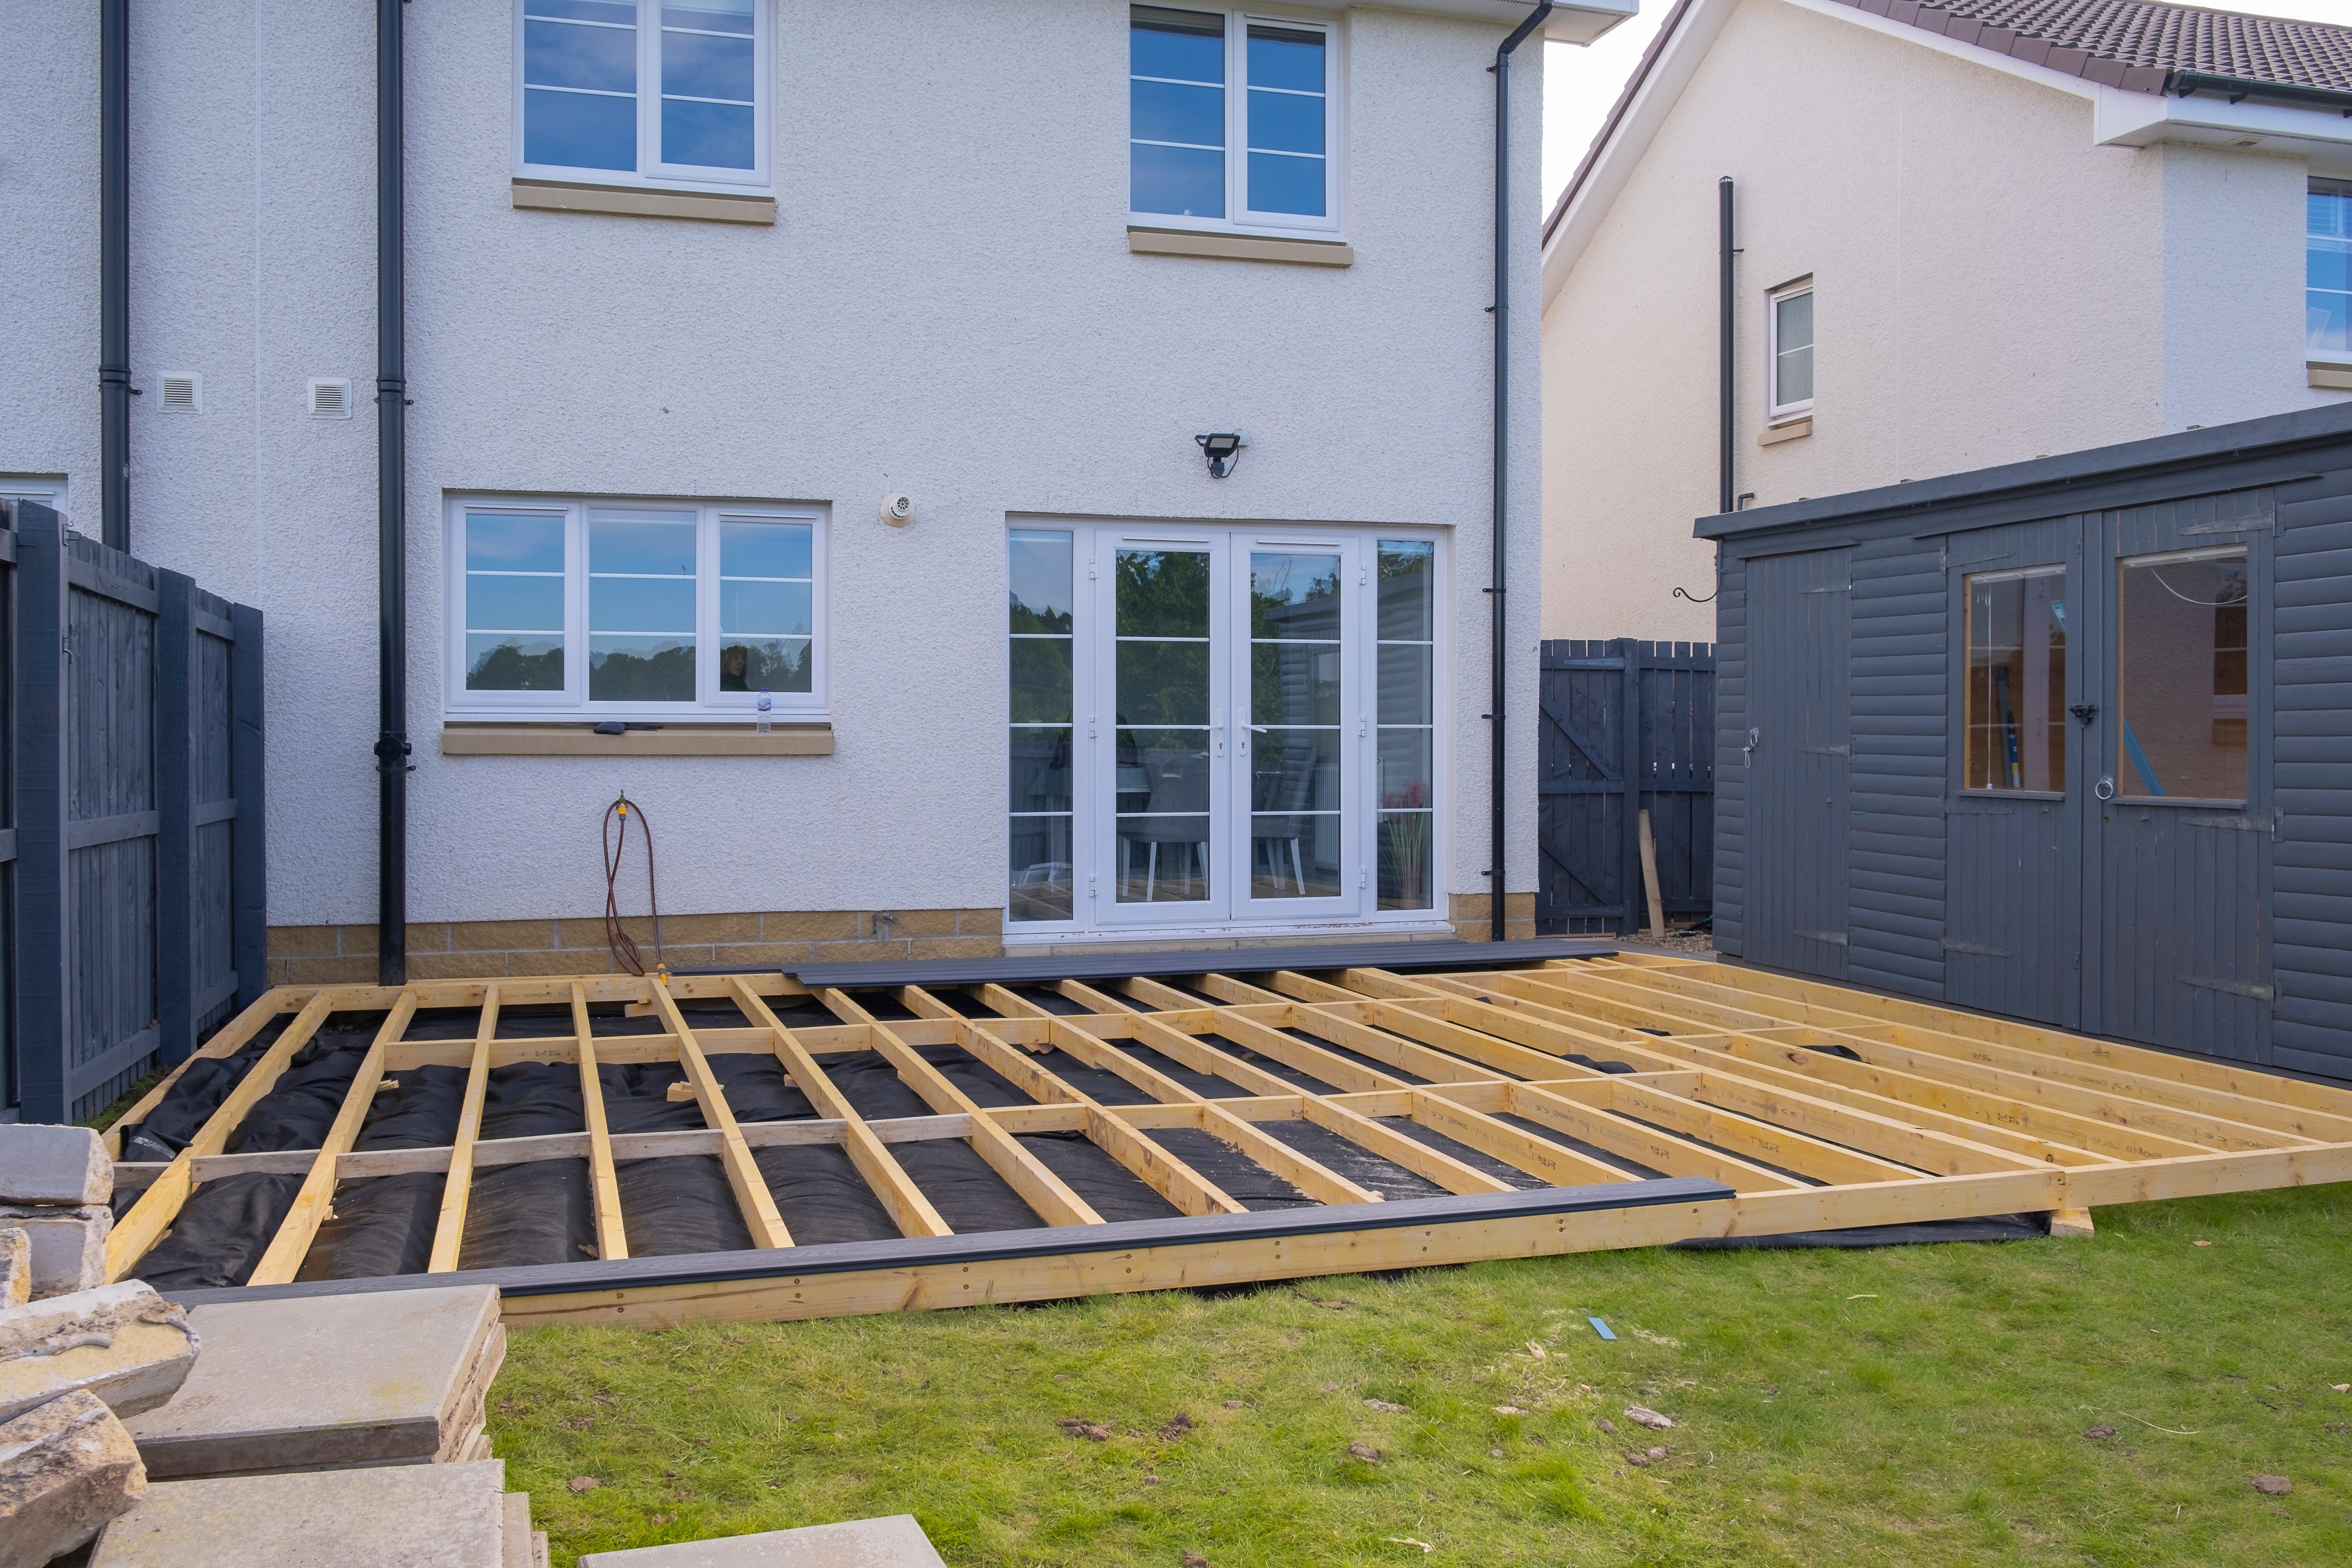
How to prepare the ground before laying decking
Getting the ground right is the most important step, so it can’t be rushed - a deck is only as good as the land it’s sitting on!
- Mark out the deck
Use pegs and string so you have a clear outline to work from.
2. Remove any grass or vegetation and 50mm of topsoil
Then compress the ground beneath your feet. Add a slight slope to stop water from pooling on the surface. Aim for a drop of 2mm for every metre of length.
3. Add the weed control fabric
It should cover the whole area and overlap any joins by at least 100mm, so it can’t shift. Peg this in place.
4. Cover the fabric with gravel
This 50mm layer, although only small, will help with drainage and stop the frame from sitting in damp conditions.
5.Lay concrete slabs
Position the slabs on each corner and at regular intervals across the middle, every 1.2 to 1.5m. Use a spirit level to check they are aligned.
How to lay decking - step by step
Step 1: Build the outer frame
The frame is the skeleton of the deck, so getting it solid and level makes it easier and faster to finish it professionally.
Start by cutting your outer frame joists to length and assembling them into a rectangle on top of your concrete slabs. Timber sleepers are another solid option if you prefer. Use a set square to check your corners are exactly 90 degrees, or your boards will never look quite aligned.
Join the corners with screws, then use the spirit level to check that the frame is sitting level across the width and length.
If your decking is going against the house wall, you will need to fix one side of the frame to the wall. Use screws with rust-proof washers and leave a small gap between the wood and the wall for air circulation.
Step 2: Fit the inner joists
Once the outer frame is in place, fill it with inner joists spaced roughly 400mm apart. These run in the opposite direction to your decking boards and give them something solid to fix along their length.
Secure each joist using metal joist hangers - small brackets that hold the timber firmly in place. Fix with screws at each end and check each is level and flush before moving on.
Step 3: Add noggins for extra strength
Noggins are offcuts of timber fitted beneath the inner joists to stop the frame from moving or flexing when in use.
Space them no more than 1,200mm apart and stagger their positions so you are not drilling two sets of fixings in the same spot.
Step 4: How to lay decking boards
This is the most satisfying part!
Add a small pilot hole (a narrow guide hole) through each board at every point where it will meet a joist - this stops the wood splitting when you add the screws.
Start at one edge and lay your first board perfectly straight, checking against your string line, then screw it down into every joist beneath using two decking screws per fixing point.
Move along the deck, one board at a time, leaving a gap of around 5 to 6mm, which allows for expansion in warm weather.
Step 5: Trim and finish
Once all the boards are fixed in place, trim any overhanging boards with the saw to give a professional appearance. Fix boards around the sides to cover joists and keep that neat look throughout.
Then, apply a decking oil or stain to protect the timber. Use two coats and work it fully into the grain to properly protect the wood from the sun and rain.
Decking on a sloped garden?
This doesn’t need to stop you. You will simply need a raised frame supported by timber posts set in the ground with a concrete mix.
Ensure you have all of the post tops at the same height. If your raised deck will be more than 300mm off the ground, you will also need a balustrade - take a look at our decking spindles and newel posts to finish it beautifully.
How to lay composite decking
Made from a mix of recycled wood and plastic, composite decking is popular as it doesn’t need maintenance like oiling or staining.
The installation process is very similar to timber decking, with a couple of key differences:
- The frame joists need to be positioned closer together, aiming for 300 to 400mm instead of 400mm exactly.
- You will use a hidden clip system instead of screws driven through the top, giving a cleaner look.
- Leave expansion gaps between the composite boards, aim for 5 to 8mm between boards and a gap of 20mm between the ends of boards and any wall or fixed structure.
- Lay the boards so they run in the same direction as the slope in the ground.
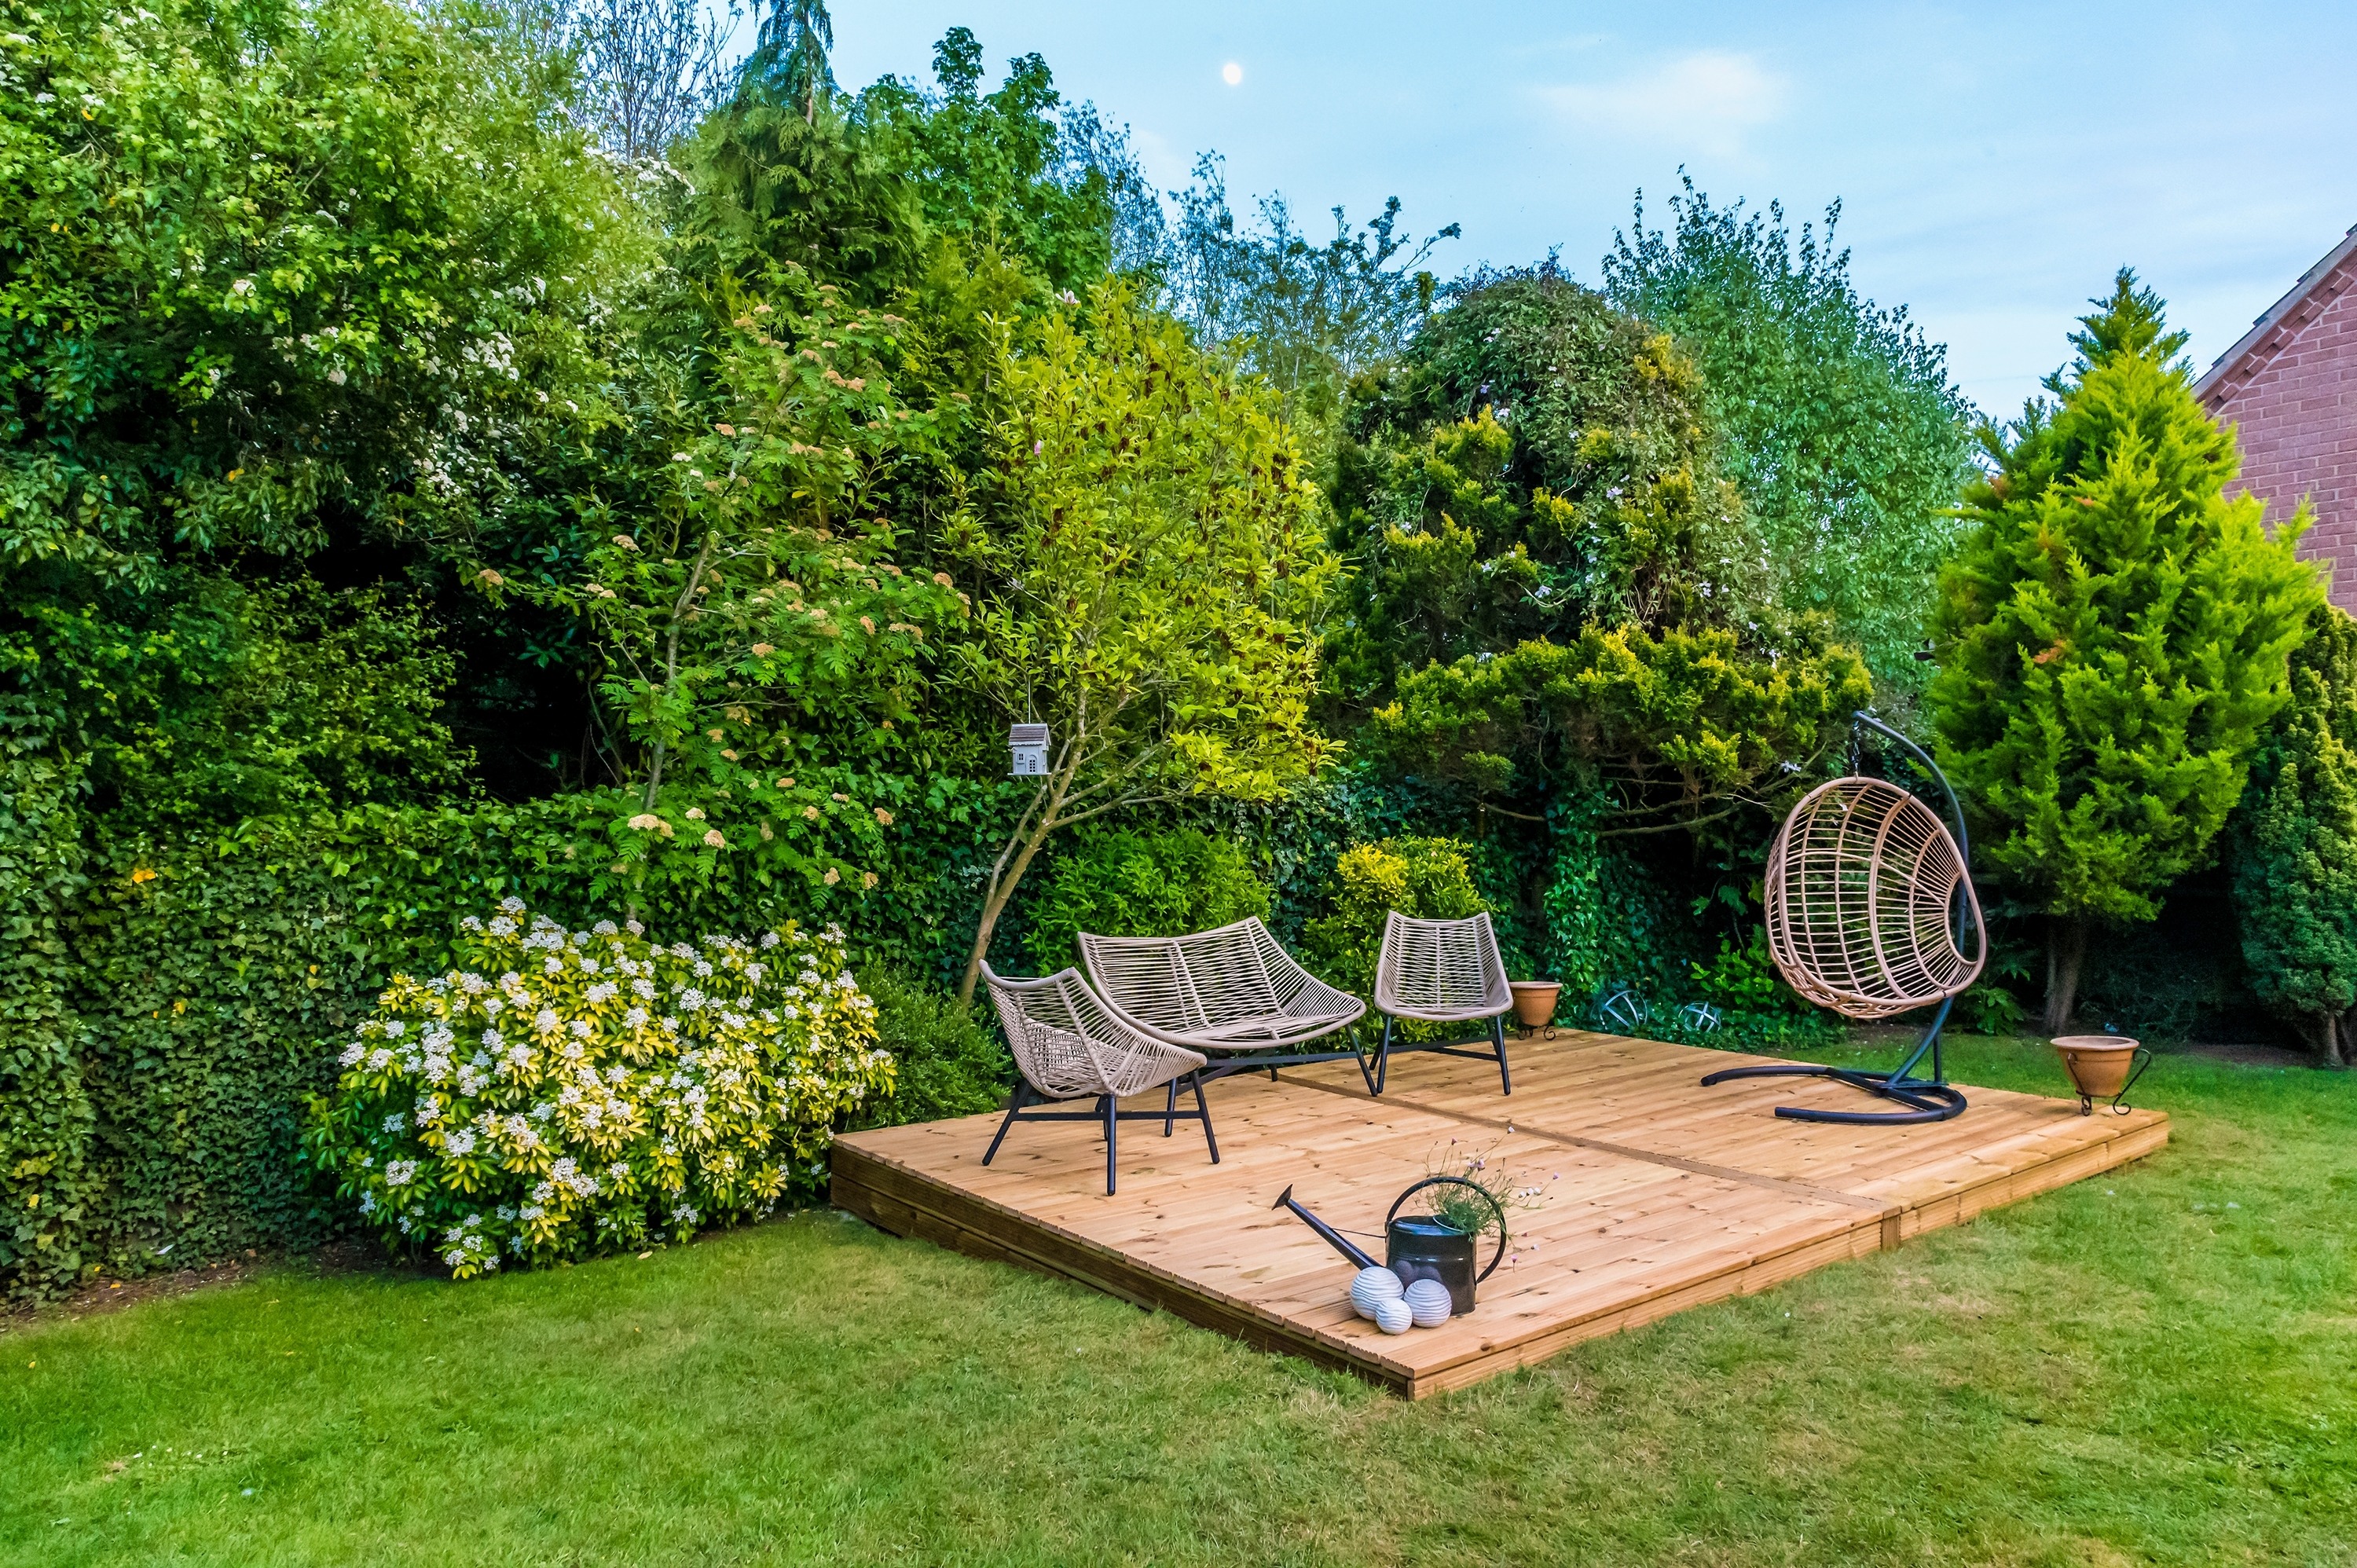
How to lay decking on soil
Laying decking on soil is straightforward as long as you follow the ground preparation steps we discussed earlier.
The main thing you need to concentrate on is that the frame never sits on bare soil, as this will lead to faster deterioration - even if you use treated timber. You should still use a concrete slab, leaving at least 50mm of clear air between the underside of the frame and the ground to extend the lifespan of your deck.
How to lay decking on grass
Just as with laying decking on soil, if laying on grass, you need to be aware of two things:
- The decking will block the light, killing the grass
- A weed membrane is essential to stop weeds from pushing up and through in your first season
How to lay decking on concrete
An existing patio is a great base for decking - and it saves you loads of time creating a stable foundation. That is, as long as the concrete is in good condition.
One thing to be aware of, though, if you have a concrete base, the finished floor level can be increased by 75 to 120mm. This may lead to you needing a step for access.
To build your deck, fix the timber battens or sleepers to the concrete using concrete screws, running them in the opposite direction to your boards, then build your deck on top.
Build success with NWTT
A timber or composite deck can be an attractive and value-increasing proposition for any home. With a little prep, manual labour, and a bit of maintenance every year or two, your timber deck will look beautiful for years to come.
If you already have a deck design but need help with the frame, explore how in our previous decking blog. Alternatively, you can chat to us at your nearest branch - we’re happy to help and can even help you decide on materials if you are unsure.