Fencing and fence panels are essentials in gardens across the world – providing aesthetic and generally reliable boundary protection without an unsightly (and expensive) wall.
Whether you need new panels because of recent storm activity or are looking to save some money on a garden renovation, our simple tips and tricks can make it easy-peasy!
Plus, with personalised support from the NWTT team available just in case you need it, you’ll never need a fencing company again!
What you’ll need
By failing to prepare, you are preparing to fail! The old adage is much-used but is very much true. When installing large additions, like fence panels, you’ll often find it much easier and increase your likelihood of success if you gather everything you need first.
As such, to make getting organised easier, use our easy-to-screenshot or print table for your convenience.
| Tools | Materials |
|
For the fence posts:
|
For the fence posts:
Concrete intermediate posts (slatted/H-posts)
|
|
For the panels:
Optional:
|
For the panels:
Optional:
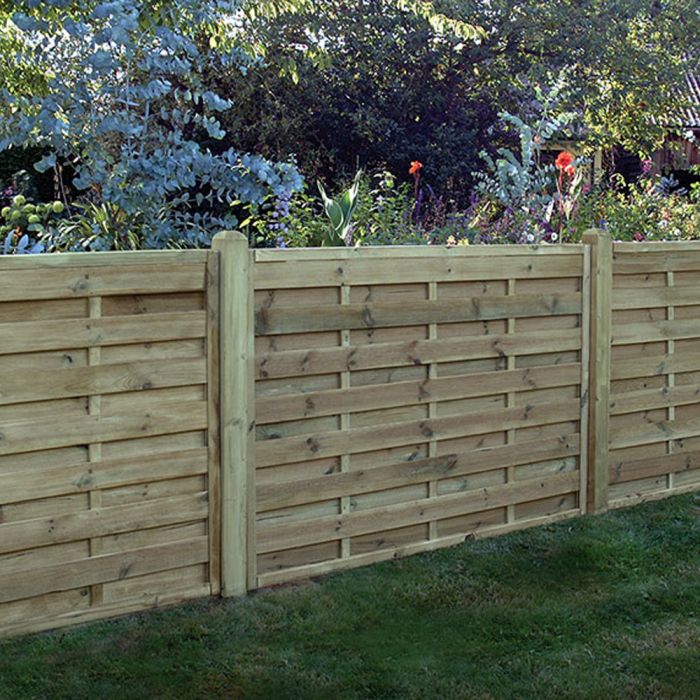
*We supply a range of fence panels and European fence panels, offering the ideal choice for every outdoor oasis and taste. |
Another set of hands is also very helpful, so consider which friend you trust most!
Consider the weather!
Putting up fencing is generally a year-round DIY task, but there are a few weather types we would recommend avoiding to make the task a little simpler, including:
- Extreme heat, cold, or frost
- Heavy rain, hail, or snow
- Strong winds
While not impossible, it will make fitting your panels harder, so try to wait for a dry and calm day. You’ll also find the process a lot more enjoyable, too!
Step 1: Planning the fence post installation
If you already have sturdy fence posts in place, head straight to step 3.
If not, you’ll need to space apart your timber fence posts, with the width of your panels. In most cases, this will be 6’, but it’s always worth double-checking to be sure. (The process is also the same with concrete posts.)
- Run a string line around the perimeter
Doing this at this point can seem like a skippable step, but doing so will help ensure everything is level and is positioned as it should be. It also means you can use pegs to mark the preferred position of fence posts on your string line to ensure they remain in line.
- Check for underground obstacles
Then, before you make any holes in the ground, you need to check for underground cables and pipes. Hitting one of these could make your simple DIY job much more dangerous, expensive, and time-consuming if you don’t.
- Measure your post
Then, use your tape measure to measure the post; this will tell you how big the hole is that you need to dig. For increased durability in the face of winds, you are aiming to get ¼ of the fence post underground. Make a note of this somewhere for easy reference.
Step 2: Install the fence posts
- Dig the post hole, one at a time
While checking the necessary size and position of the string line regularly, create the required hole for each post. A standard hole would be 450-600mm deep and 300mm wide, but always check for your posts and panels.
Now you need to set the post in place – an extra set of hands and being swift is essential here, so don’t start this step unless you know you can complete it.
- Set the fence post in place
Add 25mm of gravel or MOT type 1 to the bottom of the hole for drainage, and add the post on top. Then, half-fill the hole with water, pouring the Postmix gently until the powder is level with the water’s surface. You don’t need to mix the product.
Use your spirit level to check the post, and readjust as needed. Once straight, hold the post in place for five to ten minutes so it can set.
- Repeat and rest up!
Repeat step 2 until all of the posts are in place, and leave to cure for 48 hours before moving on to step 3.
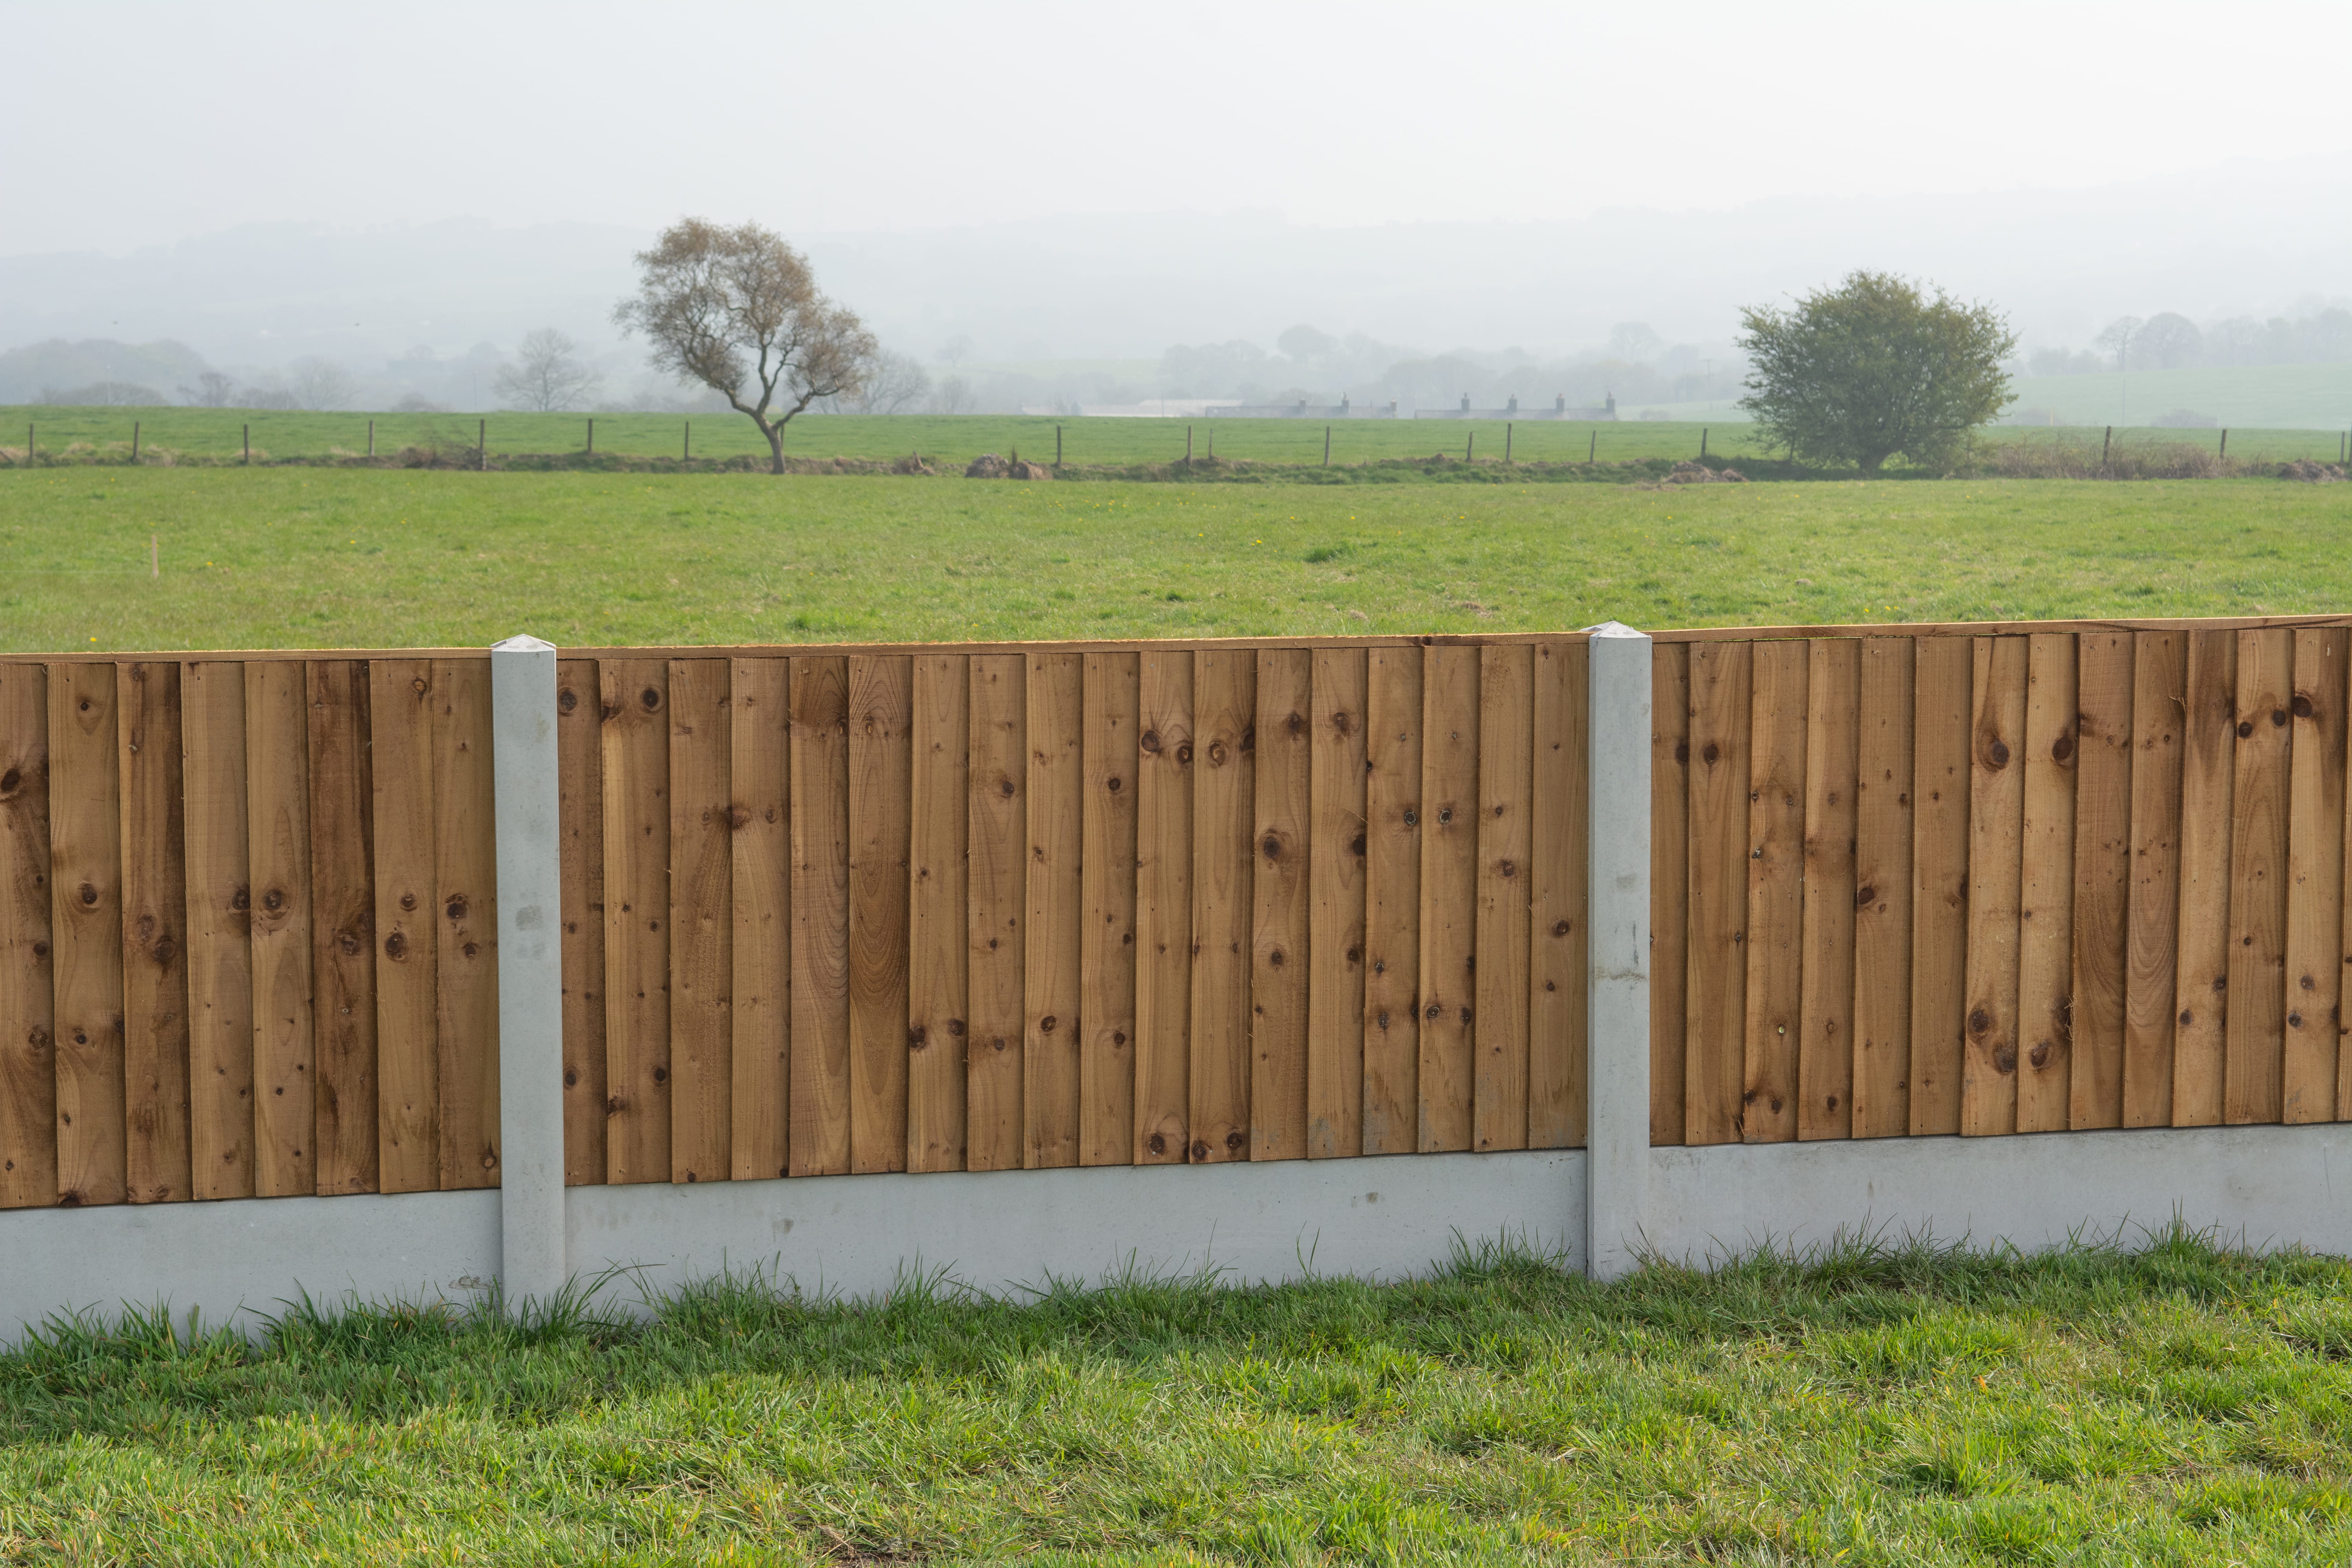
Step 3: Add base panels
Once 48 hours have elapsed, or if you already have usable fence posts, you can now add plain or rock face base panels as needed.
These keep wooden fences away from the ground, acting as a barrier against ground moisture, and thereby extending their lifespan as the risk of premature rot and infestation is reduced.
- With concrete posts, the base panels/gravel boards should simply slot right in, standing straight.
- If you have opted for timber posts, you’ll need to attach L-brackets or U-brackets with 20mm galvanised or stainless steel screws so you can then slide in the base and fence panels.
If using brackets, four per panel is considered sufficient, but six is more secure. Add three on each left and right-hand side, one for the gravel board, the other two for the fence panel itself.
Step 4: Secure the fence panels
Fixing your fence panels into place depends on what type of posts you’ve opted for.
For concrete posts, you and your pal can simply lift and slide the panels in. If you’ve installed the posts accurately, this should be sufficient to keep your panels in the right place.
For timber posts, once the panels are in place between the U-brackets, you’ll need to secure them in place with 35mm external-grade wood screws.
Step 5: Spruce up your fencing
While all optional, the following suggestions will help to improve the look and lifespan of your new fence:
- Add fence post caps to prevent rot by stopping rain and snow from settling and invading the wooden post
- Apply a stain 4 - 8 weeks after installation or 3 - 6 months after for pressure-treated wood. This will protect the wood against moisture, decay, and UV damage
- Add a UV-resistant sealant every 2 - 5 years to stop sun bleaching and keep moisture out
- Clean the fence with a soft-brush and a gentle cleanser every 1 - 2 years
- Keep vegetation trimmed to reduce load on the panels
Fancy fencing - first time!
Whether you’ve been keeping your local fencing business in the black for years and have had enough or are looking to develop further with more challenging DIY tasks, installing garden fencing has never been more possible than it is right now.
Believe in yourself, plan carefully, and get prepared with the team at NWTT. Our same-day Click & Collect option means that you can get your fencing finished without the associated stress.
Plus, with decades of experience, our friendly family team is here to help if you need some advice. You can call us on 01942 720 777 or visit us at one of our 7 North West stores - including Lymm and St Helens - if necessary!