
A garden deck can completely transform your outdoor space, but isn’t it a job for a trade professional?
With our simple tips, tricks, and in-store customer support, learning how to lay garden decking can go from impossible to installed, and you can enjoy a new spot to relax, entertain, or even sunbathe once it returns this summer.
With the support from the NWTT team, some basic planning and tools, and our step-by-step guidance, you’ll wonder why you didn’t do it sooner!
What you’ll need
For the greatest chance at success, gather your tools and materials ahead of time. It will make the job much easier and reduce the stress, too!
To make shopping easier, we’ve compiled the lists into one, easy-to-screenshot or print table for your convenience.
| Tools | Materials |
*Remember, if you don’t have these, we can cut your boards for you in-store! |
**If you aren’t sure how much decking you need, try this decking calculator! |
Once you have all of this - and a willing volunteer to help you - you can set aside a dry day or two to get the decking installed.
Step 1: Planning the deck area
Planning your deck might sound complicated, but it really just involves measuring your garden and marking the area with pegs and string.
This allows you to really see:
- The size and shape of the deck
- Where you want it
- If the ground beneath is level or slightly sloped
- If your deck will be raised or lie close to the ground
At this point, you should be able to calculate what you need to buy and head to your nearest timber merchant for the essentials.
Step 2: Prepare the ground
To ensure it lasts, decking needs a solid, level base to rely on. Without this, it can wobble and even sink in on itself.
Preparing the ground means working with your willing assistant to:
- Remove any grass, plants, or debris from the area. Contact with grass and moisture can cause timber decking to rot.
- Level the ground as best you can - a timber section and a spirit level can be useful for this.
If a small slope away from your house remains, this is fine.
- Lay a weed membrane to stop plants growing unchecked under the deck.
Add 40-50mm of gravel aggregates or concrete blocks for stability.
Step 3: Build the deck frame
While you won’t be able to see it once complete, this frame offers much-needed support for your decking boards, so it's worth the time spent getting it right.
- Build the outer frame first, using the joists
Keeping them about 400mm apart will give plenty of frame support.
- Make sure all corners are square, and the frame is level
A set square and spirit level can help here. (If you don’t have a set square, you can use any true 90° angle to check.)
- Secure everything with exterior wood screws
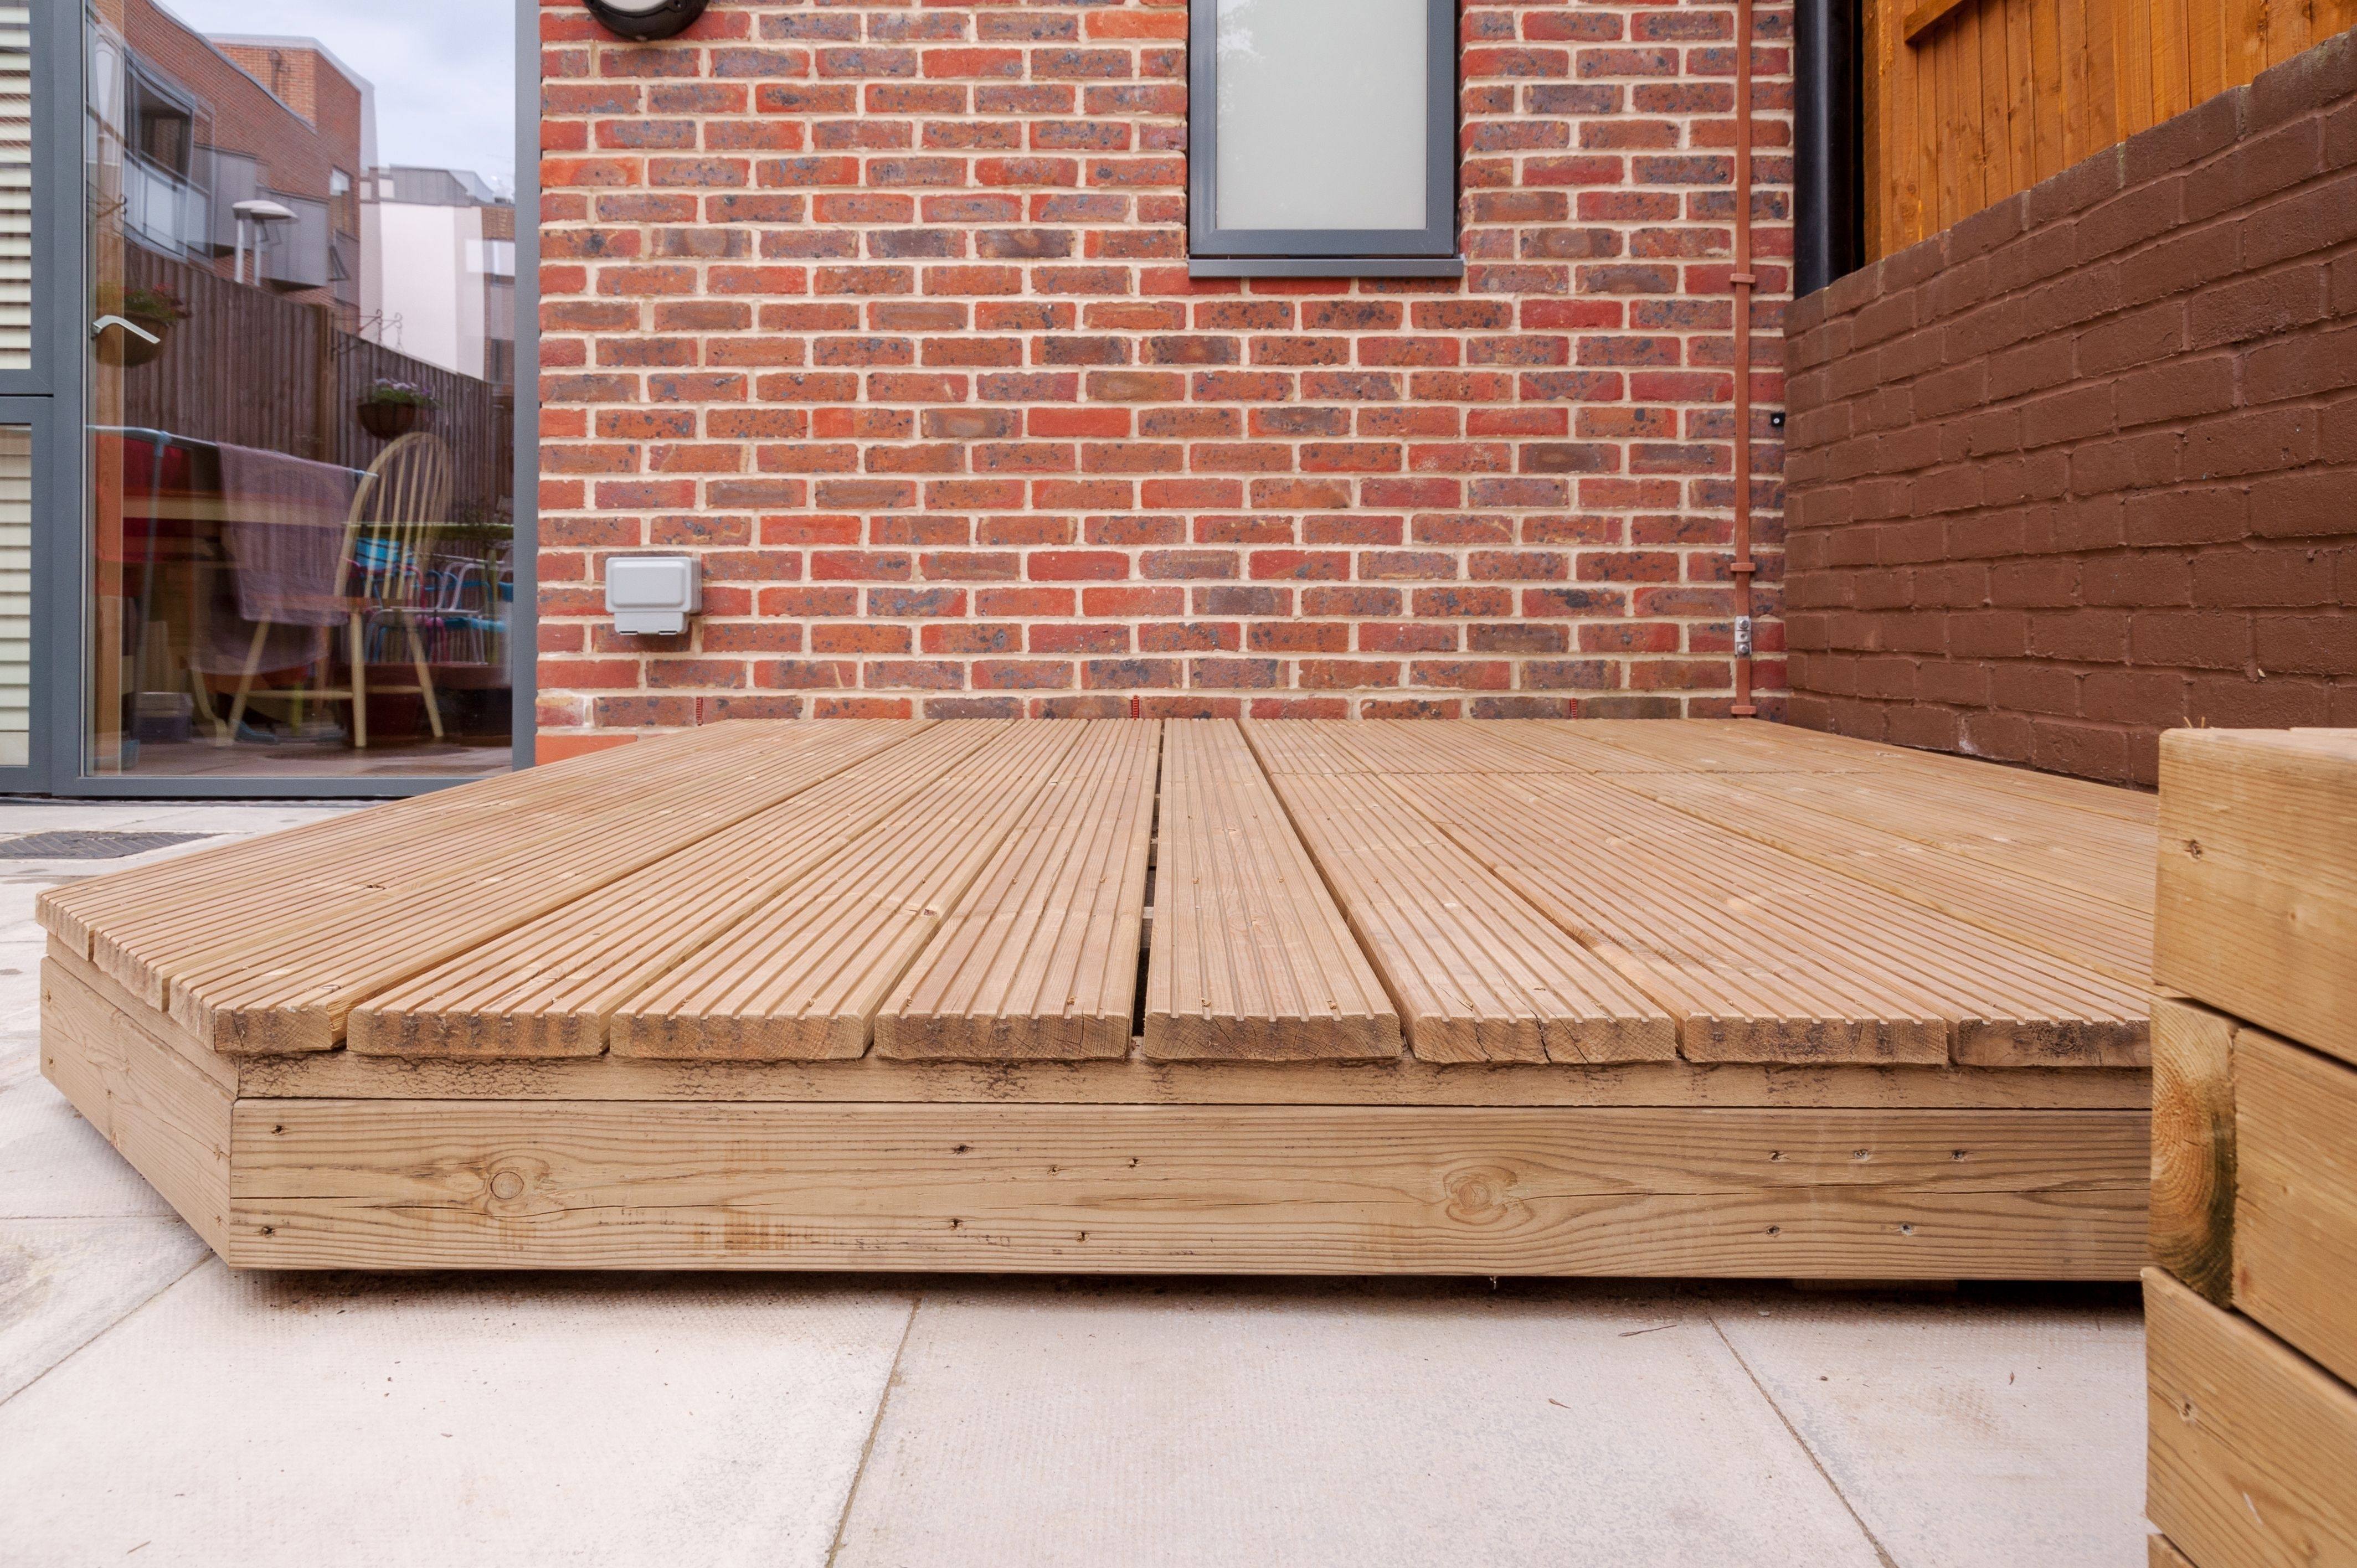
Step 4: Lay the decking boards
Now is the most impactful step, laying the decking boards!
- Always start at the outer edge of the frame and lay perpendicular to the joists
- Fix the first board in with exterior wood screws - 2 per joist.
You should also ensure it is attached to the joist below for extra strength and improved safety. Position these screws 15mm from the end and 20mm from each edge.
- Lay the next board with a 5 - 8mm gap between that and the first. Spacers can help here.
- Repeat until the deck is covered, staggering so the cut ends of the decking boards aren’t in a line with one another.
The finished effect will look something like the mortar on a brick wall.
- Sand any rough, exposed edges and apply a sealant - this will stop rotting.
Step 5: Add your finishing touches
We don’t mean a bistro set or table and chairs here, the finishing decking touches! This includes:
- Adding decking fascia boards around the edges for a tidier appearance
- Installing steps if your deck is raised
- Fitting simple handrails or balustrades for safety around the perimeter
Once in place, these final additions will make it look incredibly professional - some people might even ask if a contractor did it for you!
Back yourself and create the garden of your dreams
Learning how to lay garden decking as a beginner is completely doable; just take your time, double-check all measurements, and follow our steps carefully.
With confidence, planning, and preparation, you’ll be able to enjoy your decking for years to come - with the extra satisfaction of truly doing it yourself!
If you ever need help getting to project completion, our friendly family team at NWTT would be delighted to help. Give us a call on 01942 720 777 or visit us in-store at any of our North West branches - including Waterfoot and St Helens - for the boost (and materials) you need!