Need to add a durable garden boundary to replace a crumbling relic of summers gone by? Or perhaps you want to boost privacy or improve the structure and flow of your garden?
No matter why you want to do it, building your own brick wall is one of the most rewarding DIY projects you can take on.
But isn’t it really technical, I hear you ask. For confident DIY-ers with the right preparation, tools, and patience, you can go from wondering how to build a brick garden wall to topping it with coving stones and caps in just a few days.
This bear essentials guide walks you through the process, from planning and foundations to laying bricks and finishing touches, so let’s do it together!
What you’ll need
Step one is always preparation. For any project, but especially larger ones like putting up fencing or walls, it’s much easier to gather everything you need first. Doing so also increases your chance of success.
As such, use our easy-to-screenshot or print table as your shopping list before you get started.
| Tools | Materials |
| A brick trowel - we like the Faithfull 11” soft grip trowel Spirit level Tape measure Shovel Wheelbarrow or mixing tray Club hammer Brick bolster, like the Faithfull brick bolster with grip Pointing tool or jointer PPE, including safety gloves and eye protection |
Bricks Cement Building sand - also called plastering sand Water Mortar plasticiser Concrete (for the foundations) MOT type 1 or hardcore aggregates A suitable damp-proof course Wooden pegs String line or Hi-Vis brick line Coping stones or wall caps (for those finishing touches!) |
Step 1: Plan your garden wall
Before you start digging foundations or mixing mortar, plan your garden wall properly.
It’s not as exciting, but it can help you think strategically and avoid potential issues that you could have considered beforehand. For example, planning permission isn’t usually required if the wall is under 1m high if next to a road, or 2m elsewhere. However, you should still check before you start to avoid fines and your lovely wall being pulled down.
Similarly, you should always check for underground pipes, cables, or drainage structures before you start digging, as hitting them with your shovel can be messy, costly, and lead to interrupted services.
Step 2: Mark out the wall
- Measure exactly where the wall will go
Use wooden pegs and a string or brick line to mark the path of the wall to ensure everything stays perfectly straight. Doing this carefully makes the project much easier later down the line, so be sure to check from multiple angles and positions.
Step 3: Dig and pour the foundations
Much of the strength from strong walls starts underground in the foundations. Without them, you can expect to see cracks, leaning, or even collapse over time.
- Dig your foundation trench
For a single-brick garden wall, you need to dig a trench 300mm wide and 150mm deep (for low walls).
If you are laying a taller wall, you’ll need to speak to a professional who can advise on an appropriate depth.
- Compact the ground, add MOT Type 1/hardocre, and top with concrete
All concrete should be carefully levelled and left to cure for 24-48 hours until completely solid. (This can take longer in poor weather.)
Step 4: Make the mortar
- Create mortar
For most garden walls, a standard mix of 1 part cement, 5 parts building sand, and enough water to bring it together is what you are looking for. The ideal consistency is firm enough to hold its shape, but soft enough to spread easily with your trowel.
Just be sure not to make too much in one go; you only need to have a few hours' worth mixed at a time.
- Add mortar plasticiser
Follow the packet instructions if you choose to add this to your mortar mix. Doing so can improve workability and make bricklaying smoother, so it can be a great idea for beginners.
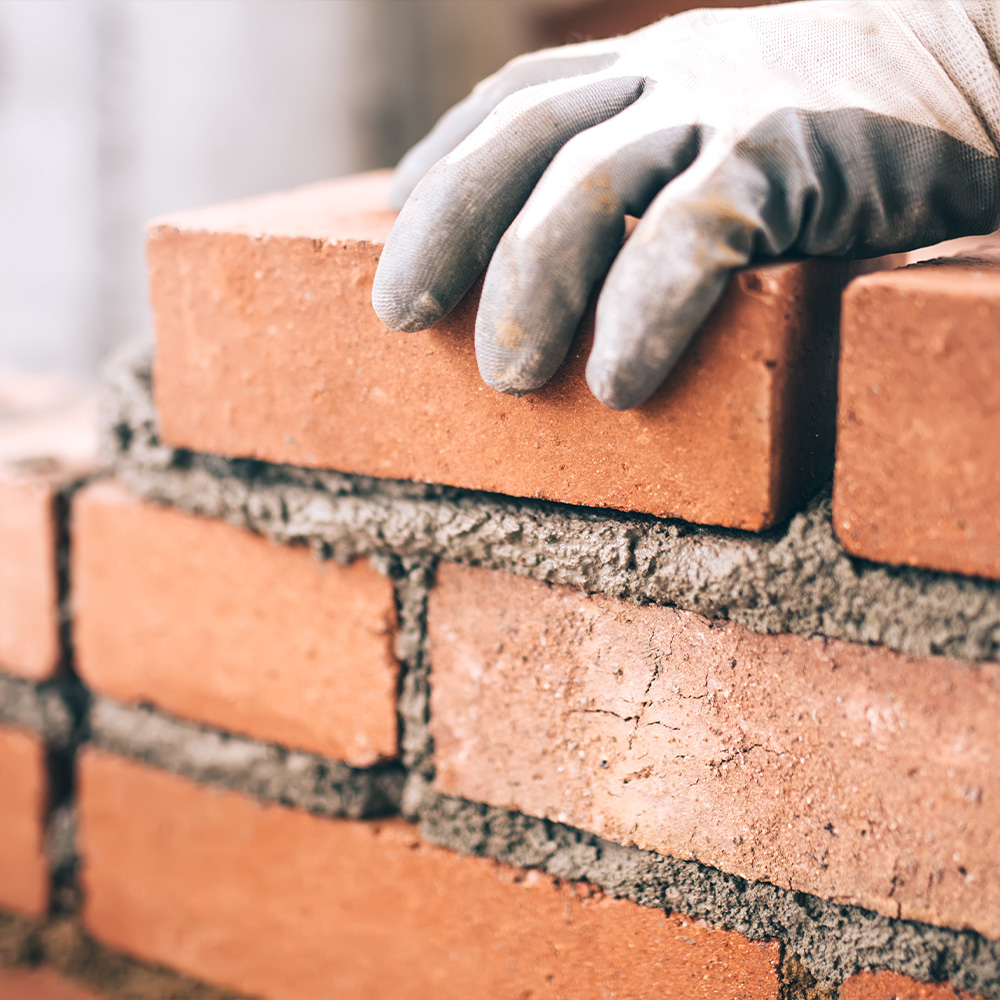
Step 5: Start to lay your garden wall
This step is the most exciting and important stage of all. If the first row of bricks isn’t level and straight, every course (row) above it will be ever so slightly off, too.
- Spread 10mm of mortar on the concrete-filled trench with the trowel and add the first brick.
As you continue, you should get into a bit of a rhythm, following the same four essential steps:
- Apply mortar to all horizontal and vertical joints
- Check levels constantly with your spirit level (and amend any issues immediately)
- Keep joints as even as possible
- Remove excess mortar as you go
It’s important to take the time to get this first bit right, so focus on patience and skill instead of speed.
Step 6: Start planning for garden wall patterns
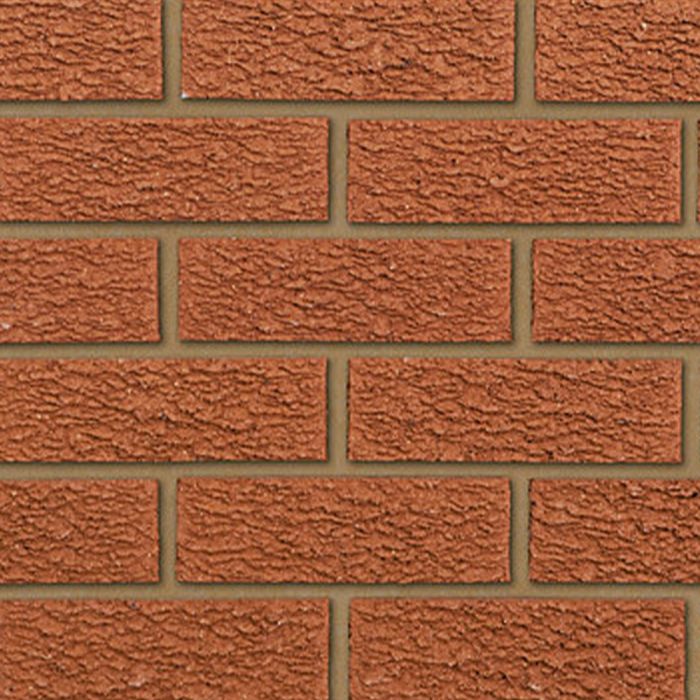
The pattern bricks are laid in is called the bond. For beginners, a stretcher bond is easiest to achieve, so this is what we would encourage you to use if it’s your first time.
The stretcher bond staggers vertical joints by half a brick on each course, giving that classical brick wall effect.
However, if you fancy a challenge, you could consider an English bond, a Flemish bond, or a garden wall bond, for a bit of visual appeal.
Step 7: Add the corners
It is common practice for bricklayers to build the corners several courses higher before filling in the middle sections, to:
- Keep the wall level
- Maintain a straight course
- Follow the bond pattern consistently
Ensure you move your brick line up with every new course to keep everything in line as your wall grows.
Step 8: Cutting bricks
Even for those sticking with the classic stretcher bond, you will likely need to cut a brick or two to fit the ends of the wall or maintain the bond pattern.
To achieve this neatly, you should:
- Mark the cut line clearly on each brick
- Score the brick
- Put on eye protection
- Strike firmly and confidently with a brick bolster and club hammer
Step 9: Double-check regularly
The secret to a level, well-built wall is attention to detail and patience.
To ensure your garden wall looks as good as possible, be sure to check the following every few courses and from multiple angles and distances - stepping back can help you see issues you hadn’t noticed before. Check the:
- Horizontal level
- Vertical plumb
- Face of the wall
To ensure every single one is straight and even.
Step 10: Finish your joints
Once the mortar has firmed up a little, smooth the joints for a professional finish using a pointing tool or jointer.
Although it is an extra step, doing so will ensure your wall is as weather-resistant as possible, looks neater and cleaner, and improves durability.
Be sure to brush away any loose or dripping mortar, too, before it hardens fully and is trapped in place.
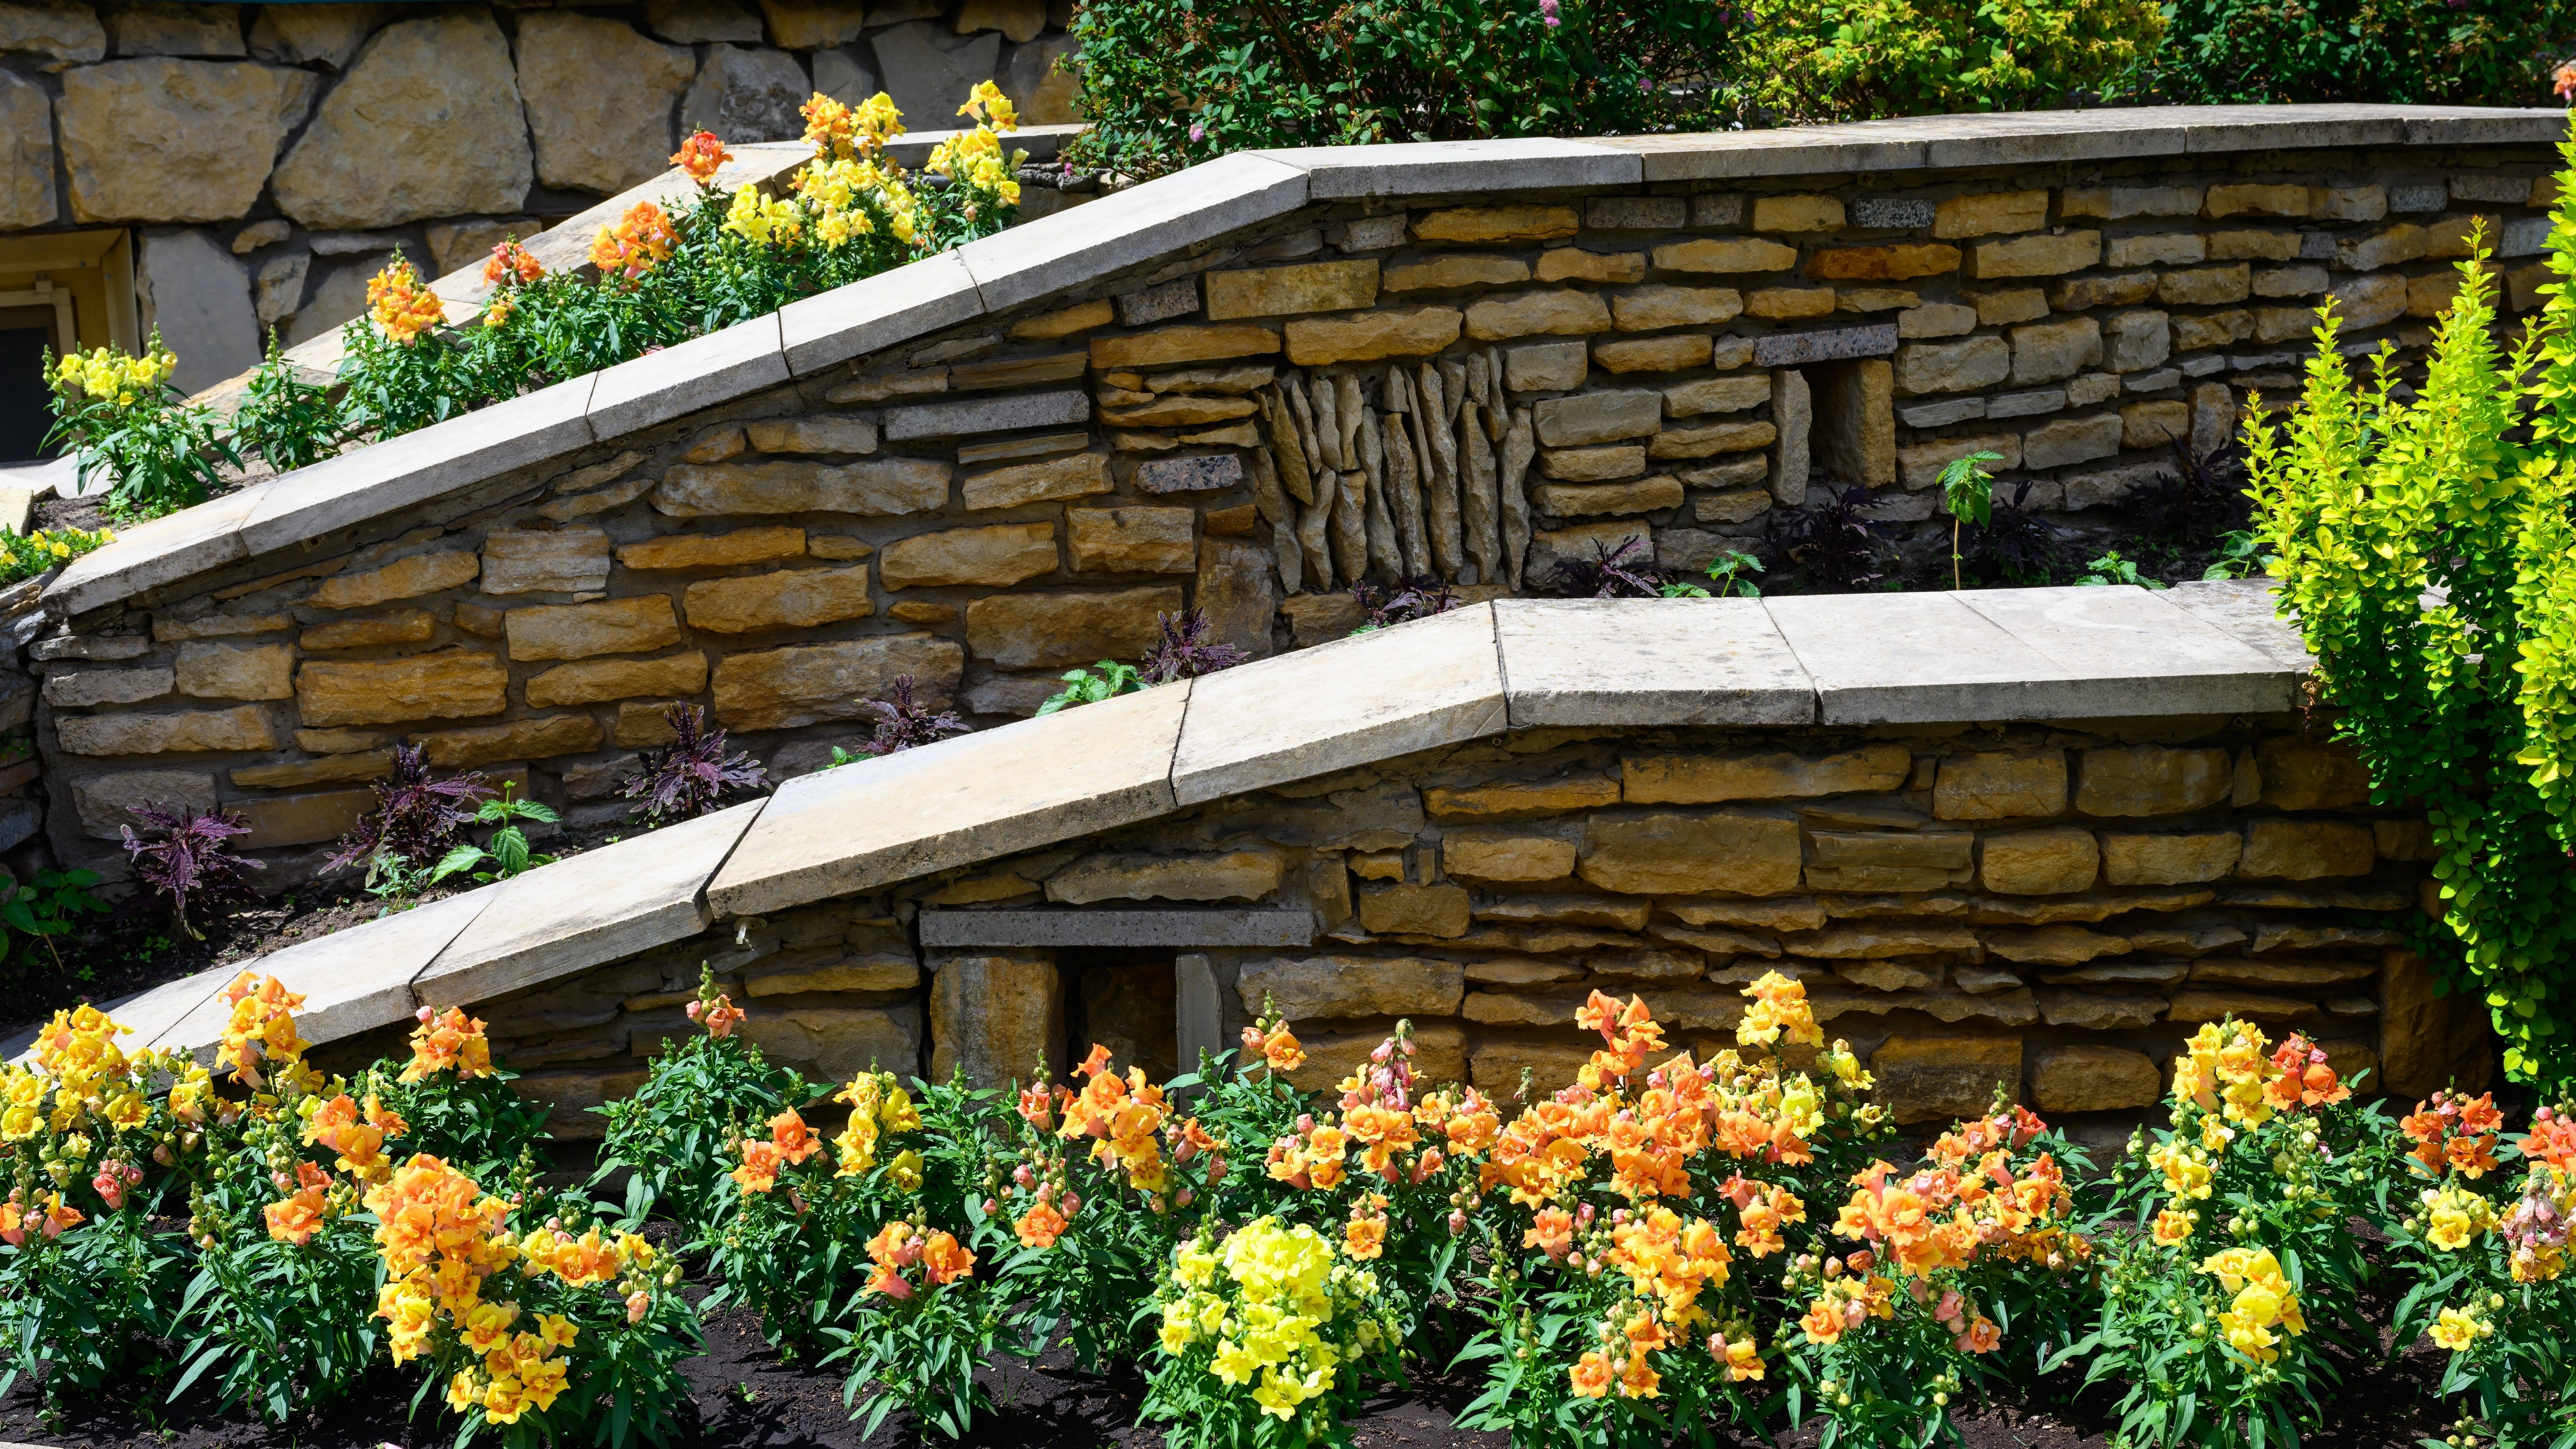
Step 11: Add finishing touches and leave to cure
- Coping stones or wall caps
Used to finish the wall and protect it from potential water damage, some choose to top their walls with brick-on-edge coping, concrete coping stones, or natural stone caps.
Whichever you choose, apply another 10mm row of mortar and allow the coping stones to overhang the wall structure - something that will keep rainwater from dripping down the wall in poor weather.
- Leave the wall to cure
If extreme weather is expected, loosely cover the wall with plastic sheetings or tarps to protect it from heavy rain, frost, or very strong sunlight.
Then, leave it to complete the initial set for 48 hours, and try not to put any heavy weight on the wall for the next week.
See how to lay a brick wall with NWTT
Though it might seem intimidating at first, building a garden wall can be a very achievable DIY project for almost anyone with the right preparation, advice, and tools. Remember, even professional bricklayers started somewhere!
If you need anything at all, the experienced team at NWTT would love to assist you, be that with bespoke advice or packing up orders of bricks and mortar so you can get started.
Browse our build essentials - including loft insulation rolls if you're planning any thermal improvements alongside your build - or contact a friendly human at our Ashton-in-Makerfield or Winsford branch - we’ve seen it all before and can help while you enjoy a free cup of coffee!