When fitted correctly, shiplap cladding gives your customers a clean finish, solid weather protection, and long-term durability for commercial and domestic projects alike.
From garden sheds and outbuildings to cosy lounges and bedrooms, no matter where you use it, you need to focus on the details to ensure long-term performance.
This guide covers the common pitfalls, including poor ventilation, incorrect fixings, and the risks of untreated battens, to help every trade deliver a professional finish that lasts and keeps customers coming back time after time.
Shiplap fitting non-negotiables
- Pressure-treated battens
- Correct spacing and layouts
- Good airflow and ventilation
Selecting the right shiplap cladding
Choosing the right timber from the outset makes installation smoother and helps avoid movement or durability issues later down the line.
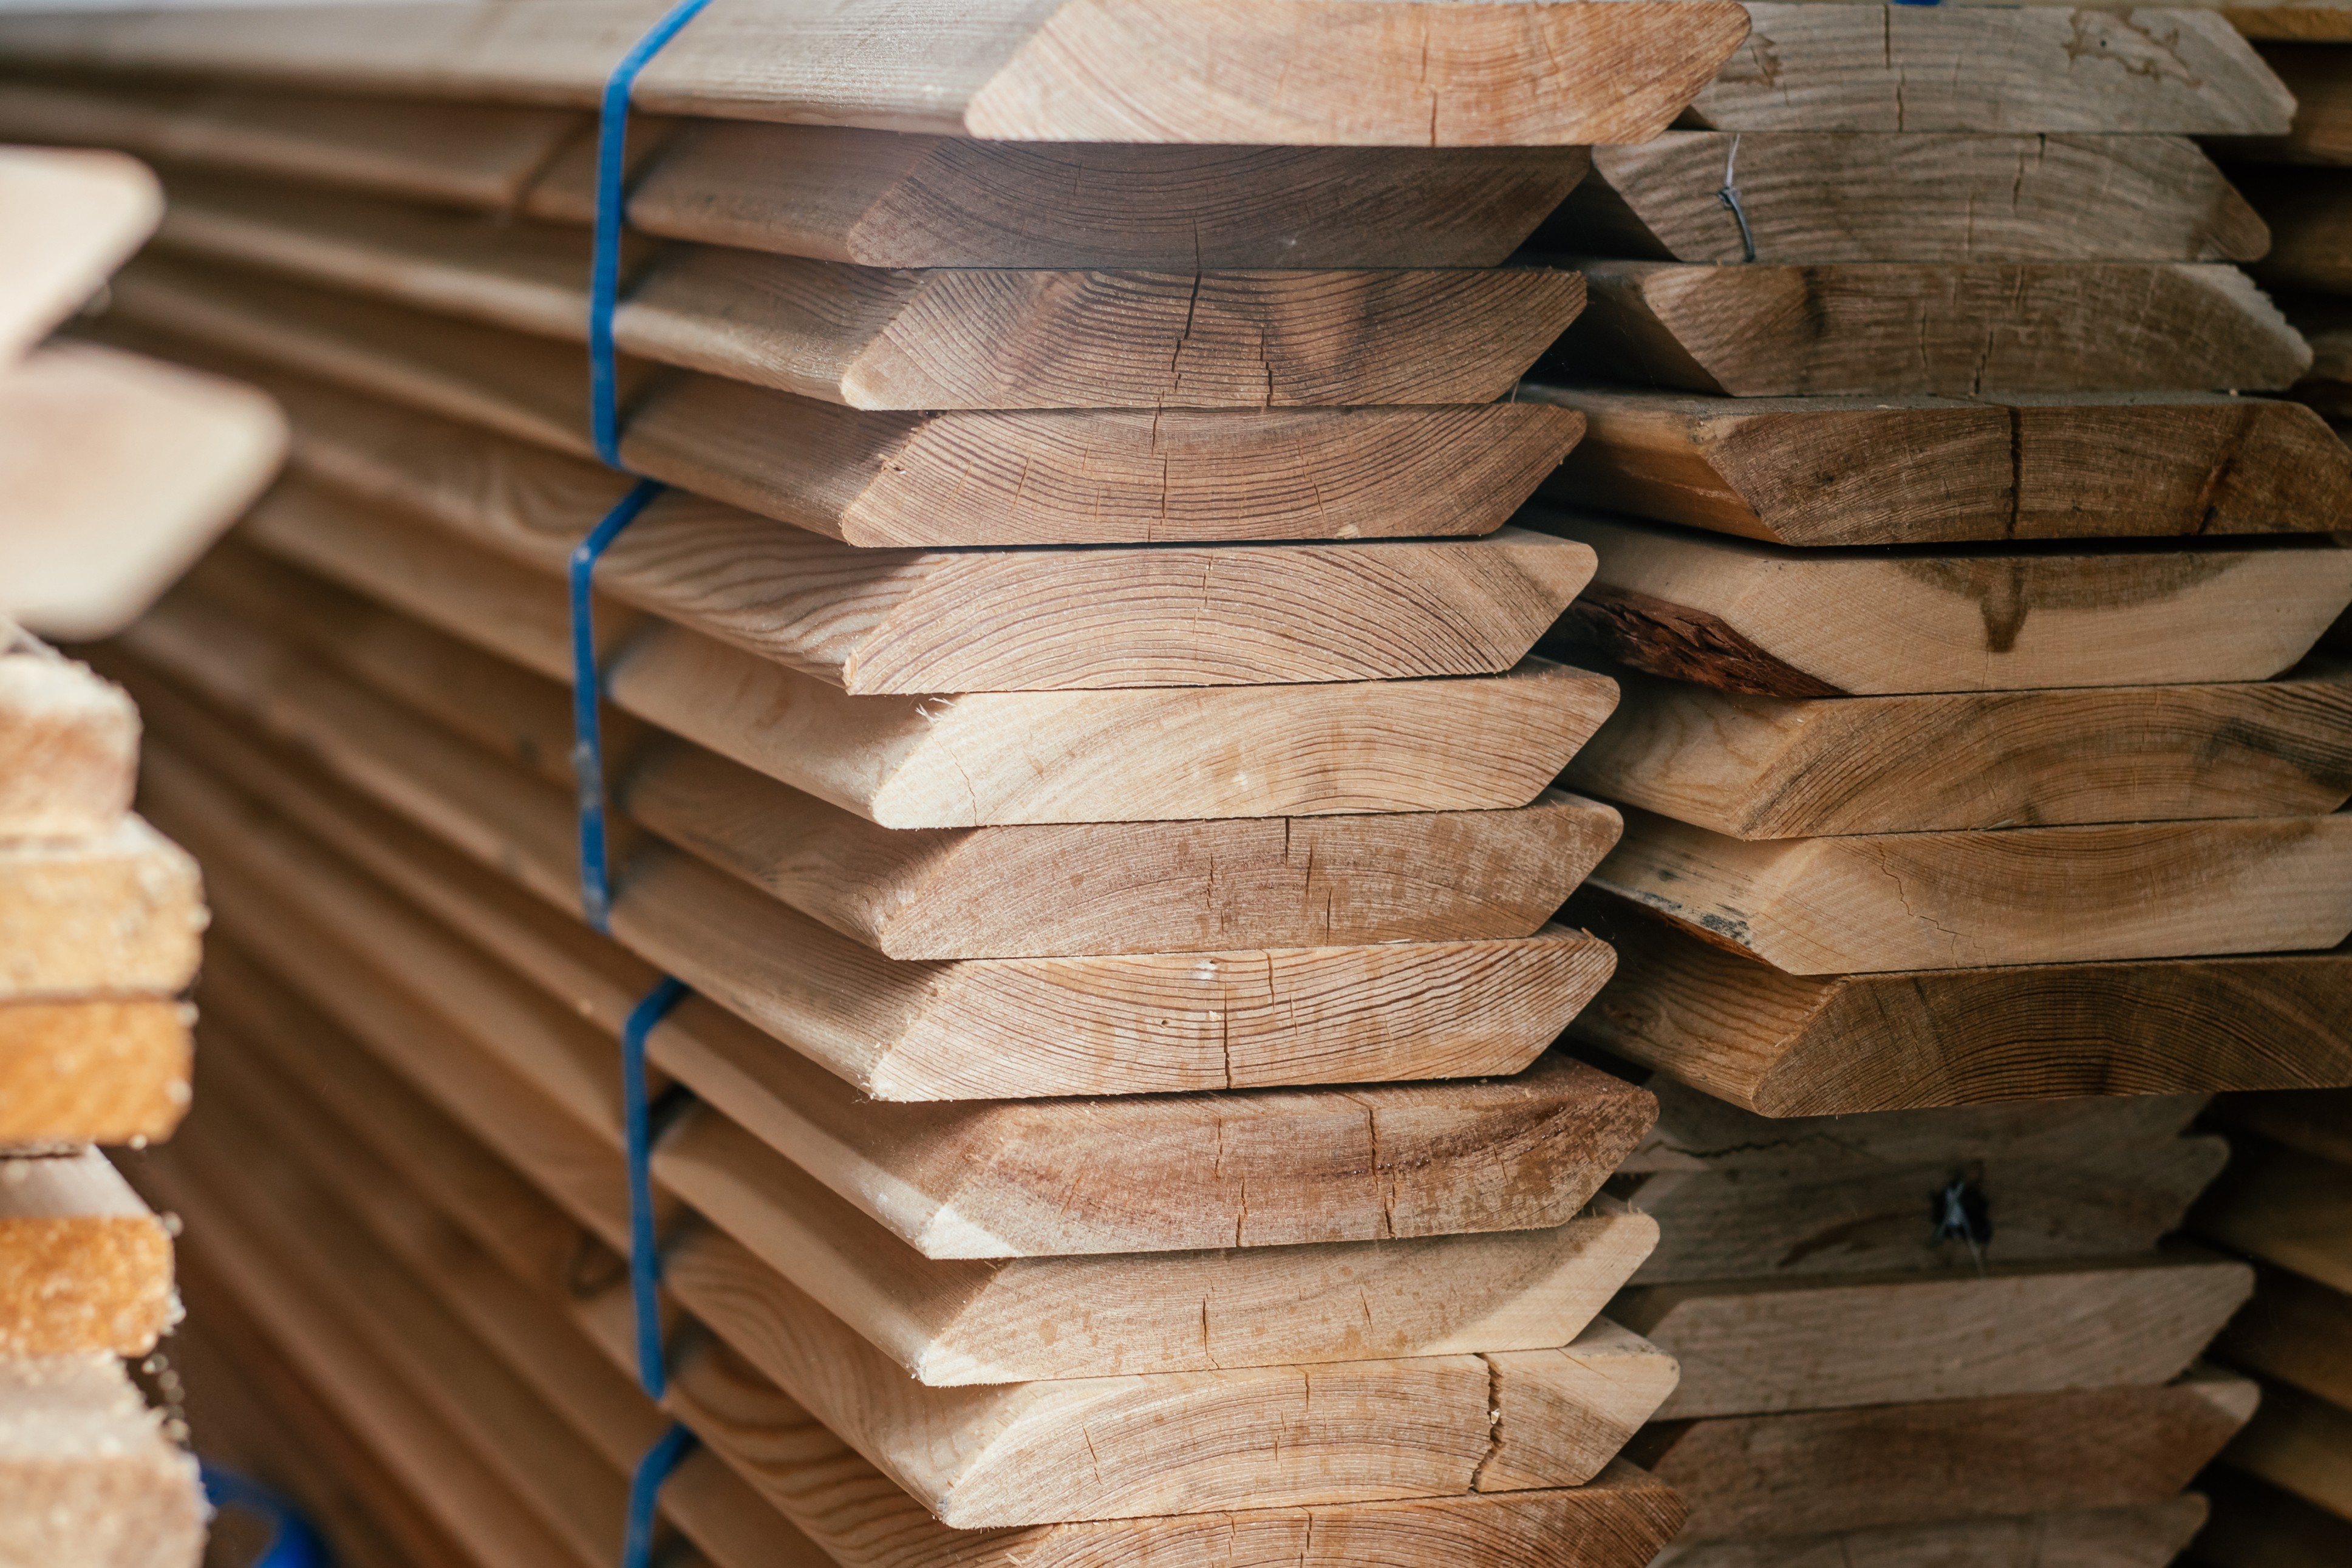
For outdoor projects, you should choose pressure-treated shiplap for its balance of durability, workability, and cost-effectiveness. Relying on TANALITH treatment processes, most treated shiplap has a pale green colouration that weathers to a warm honey brown and then a natural silver grey - providing robust rot protection while also being visually appealing to customers across the country.
Benefits of TANALITH pressure-treated shiplap
- Preservatives impregnate deep into the cellular structures, providing long-term protection.
- Colours associated with pressure treatment are aesthetically friendly for very particular customers.
- Protects against fungal decay, rot, insect attacks, and moisture-related deterioration.
- Suitable for a range of sites, including exposed elevations, shaded areas, North-facing walls, and buildings with limited sunlight or airflow.
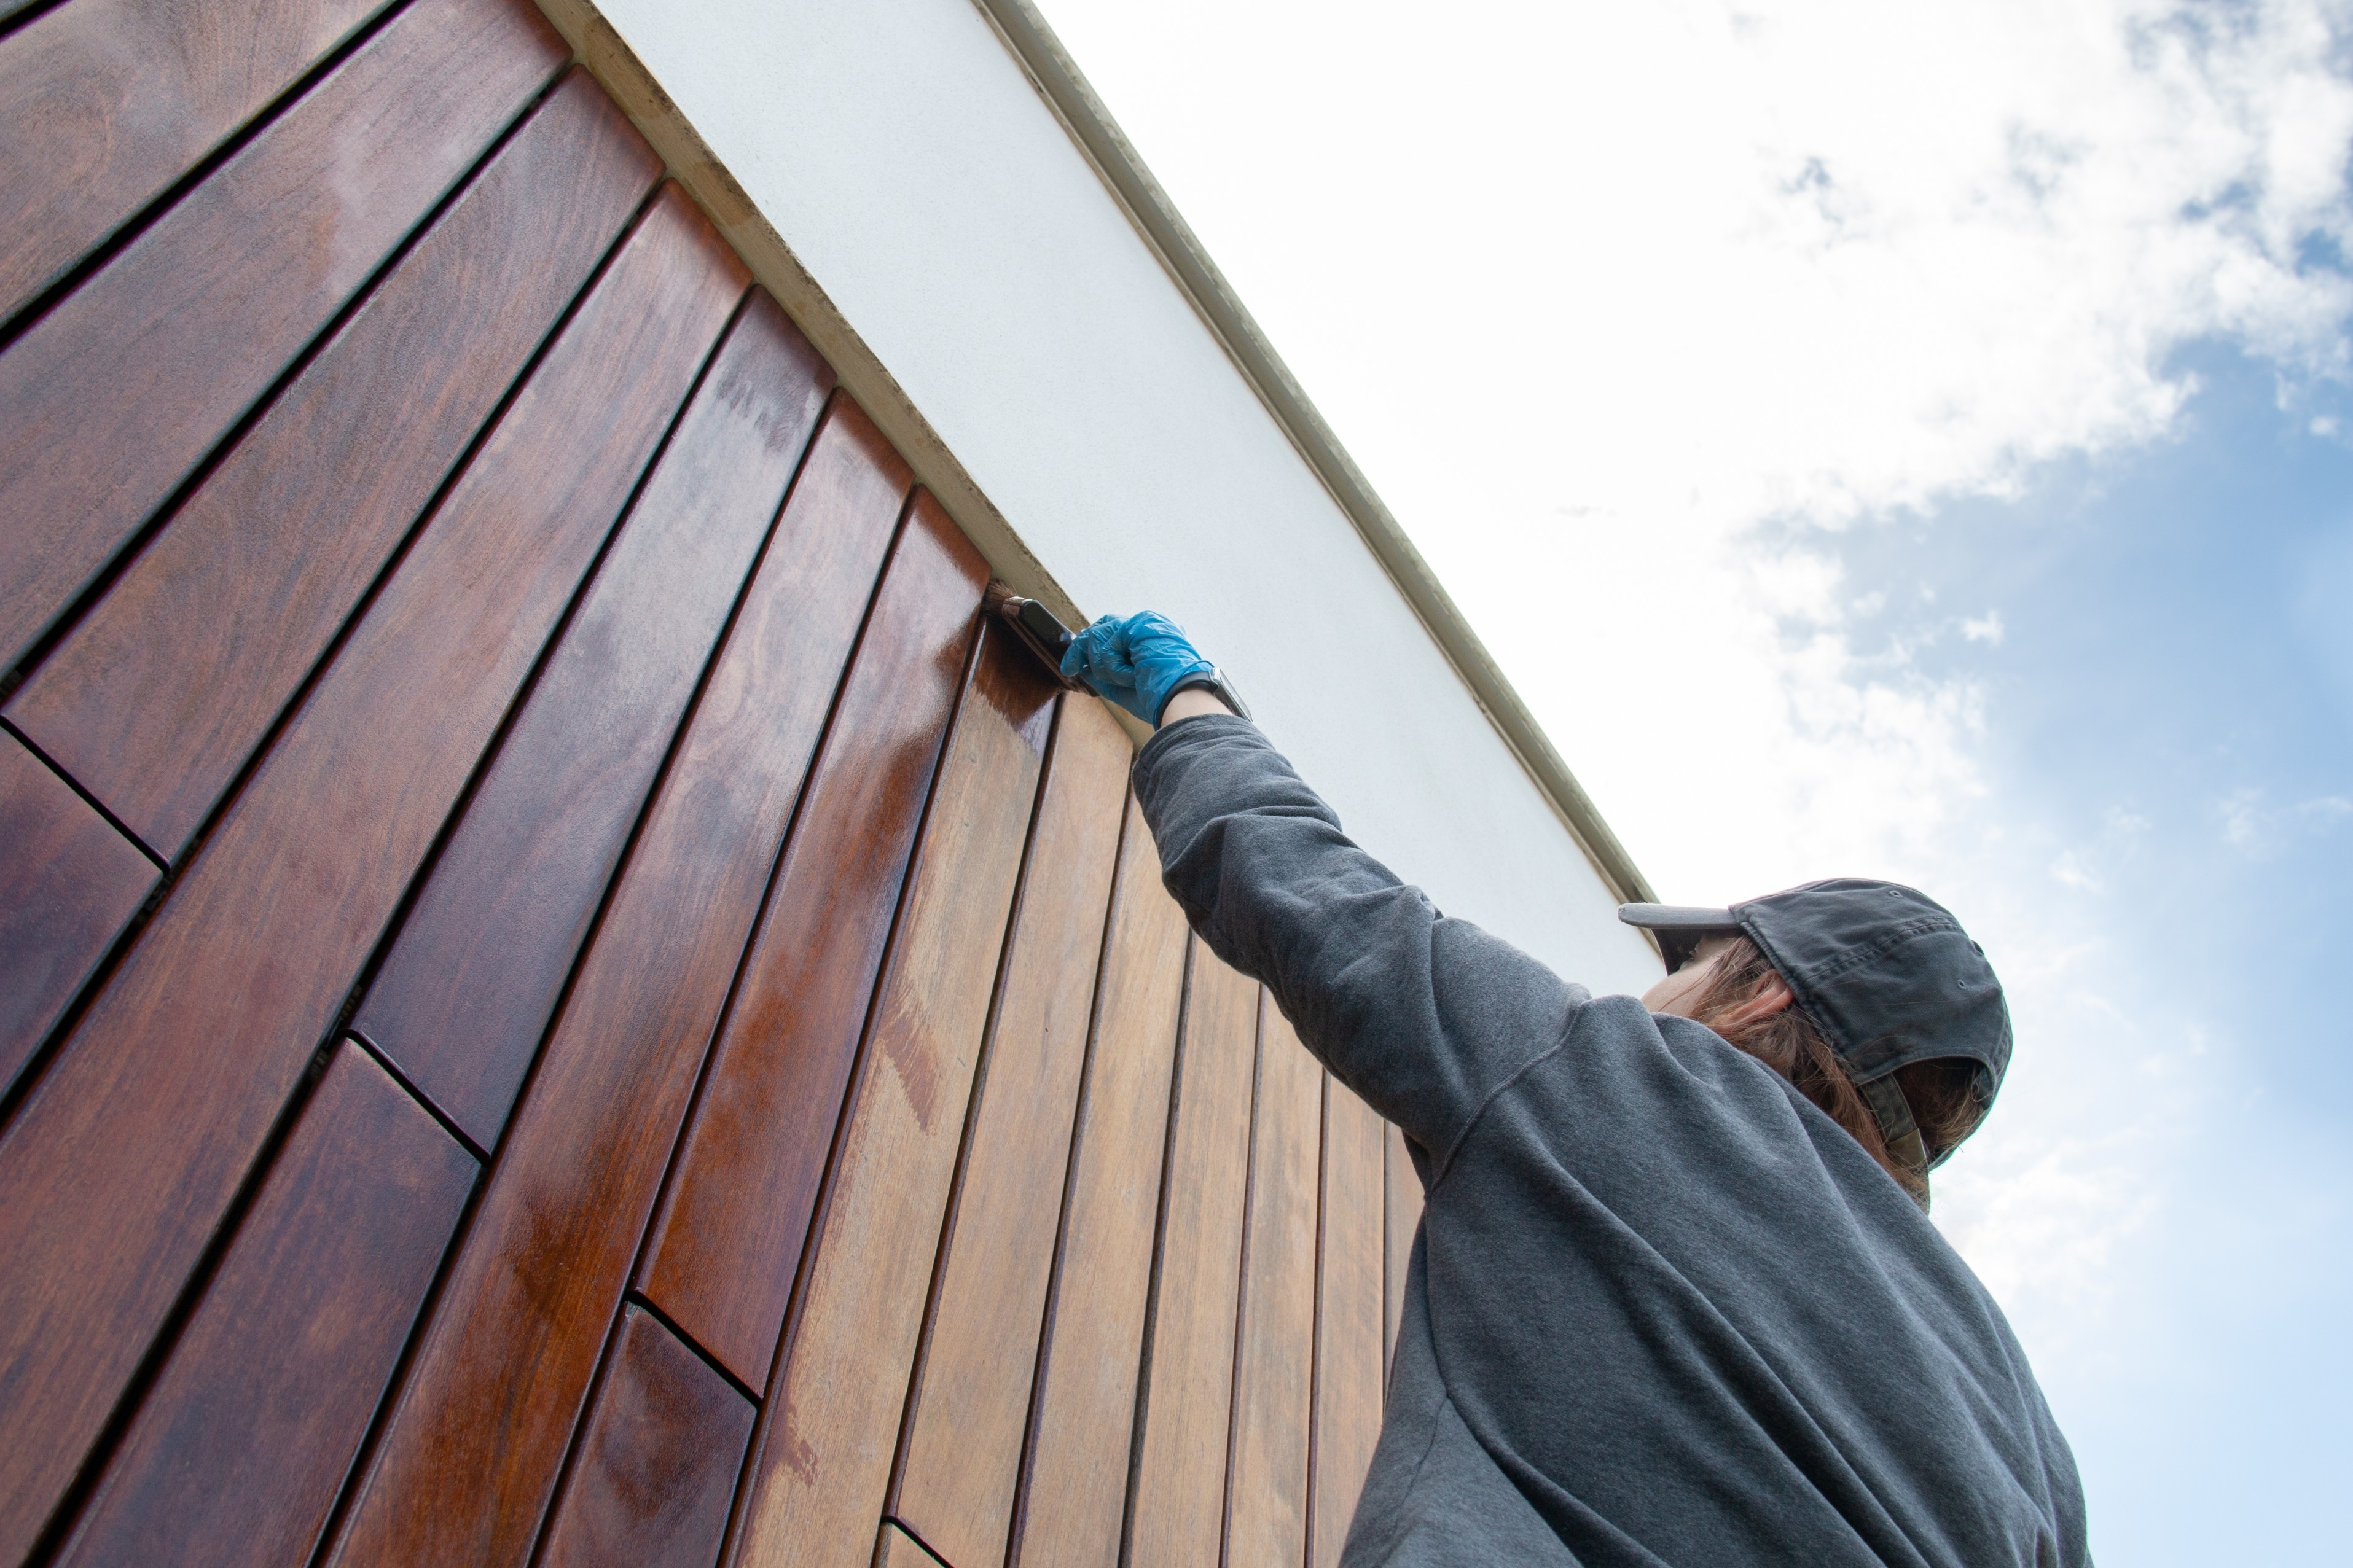
Top tip: Don’t forget cut-end treatment!
While NWTT-brand treated shiplap includes a layer of protection, resealing cut ends after trimming can expose untreated internal fibres, particularly around the end grain.
During installation, remember to reapply a cut-end preservative to any cuts, drilled holes, notches, or rebates for proper protection and resilience.
Batten spacing and layout
While typical spacing will depend on the board dimensions, exposure conditions, and manufacturer guidance, ensuring you plan for consistent centres prevents movement and offers a flat and properly finished appearance.
- Horizontal cladding - install vertically for best results
- Vertical cladding - use counter battens to maintain adequate airflow
Ventilation, ventilation, ventilation
Without proper ventilation behind any timber cladding system, moisture can become trapped, boards can cup or distort, and decay risk increases significantly.
For the best results, ensure you maintain airflow at critical points (and consider insect mesh for at-risk sites), including:
- The base of the installation
- The top of the installation
- Around openings and trims
Fitting shiplap timber cladding right the first time
As with all timber cladding installations, once the subframe is level and fully prepared, installation becomes pretty standard and straightforward.
Common problem areas include:
- Fitting the first board incorrectly
Check the level, spacing, drip-edge positioning, and overhangs, and use a laser level or string level to get the first board - and all subsequent boards - right.
2. Choosing the wrong fixing methods
For external shiplap, stainless steel fixings are recommended to prevent corrosion and staining over time.
This can include timber screws, ring shank nails, or concealed fixing systems, but avoid overdriving fixings, as this can restrict natural movement and damage the board surface.
3. Not allowing for timber movement
Timber naturally expands and contracts with seasonal moisture changes.
An installation that doesn’t allow for this with expansion gaps can result in:
- Boards being installed too tightly
- Insufficient airflow
- Excessively wet timber used during fitting
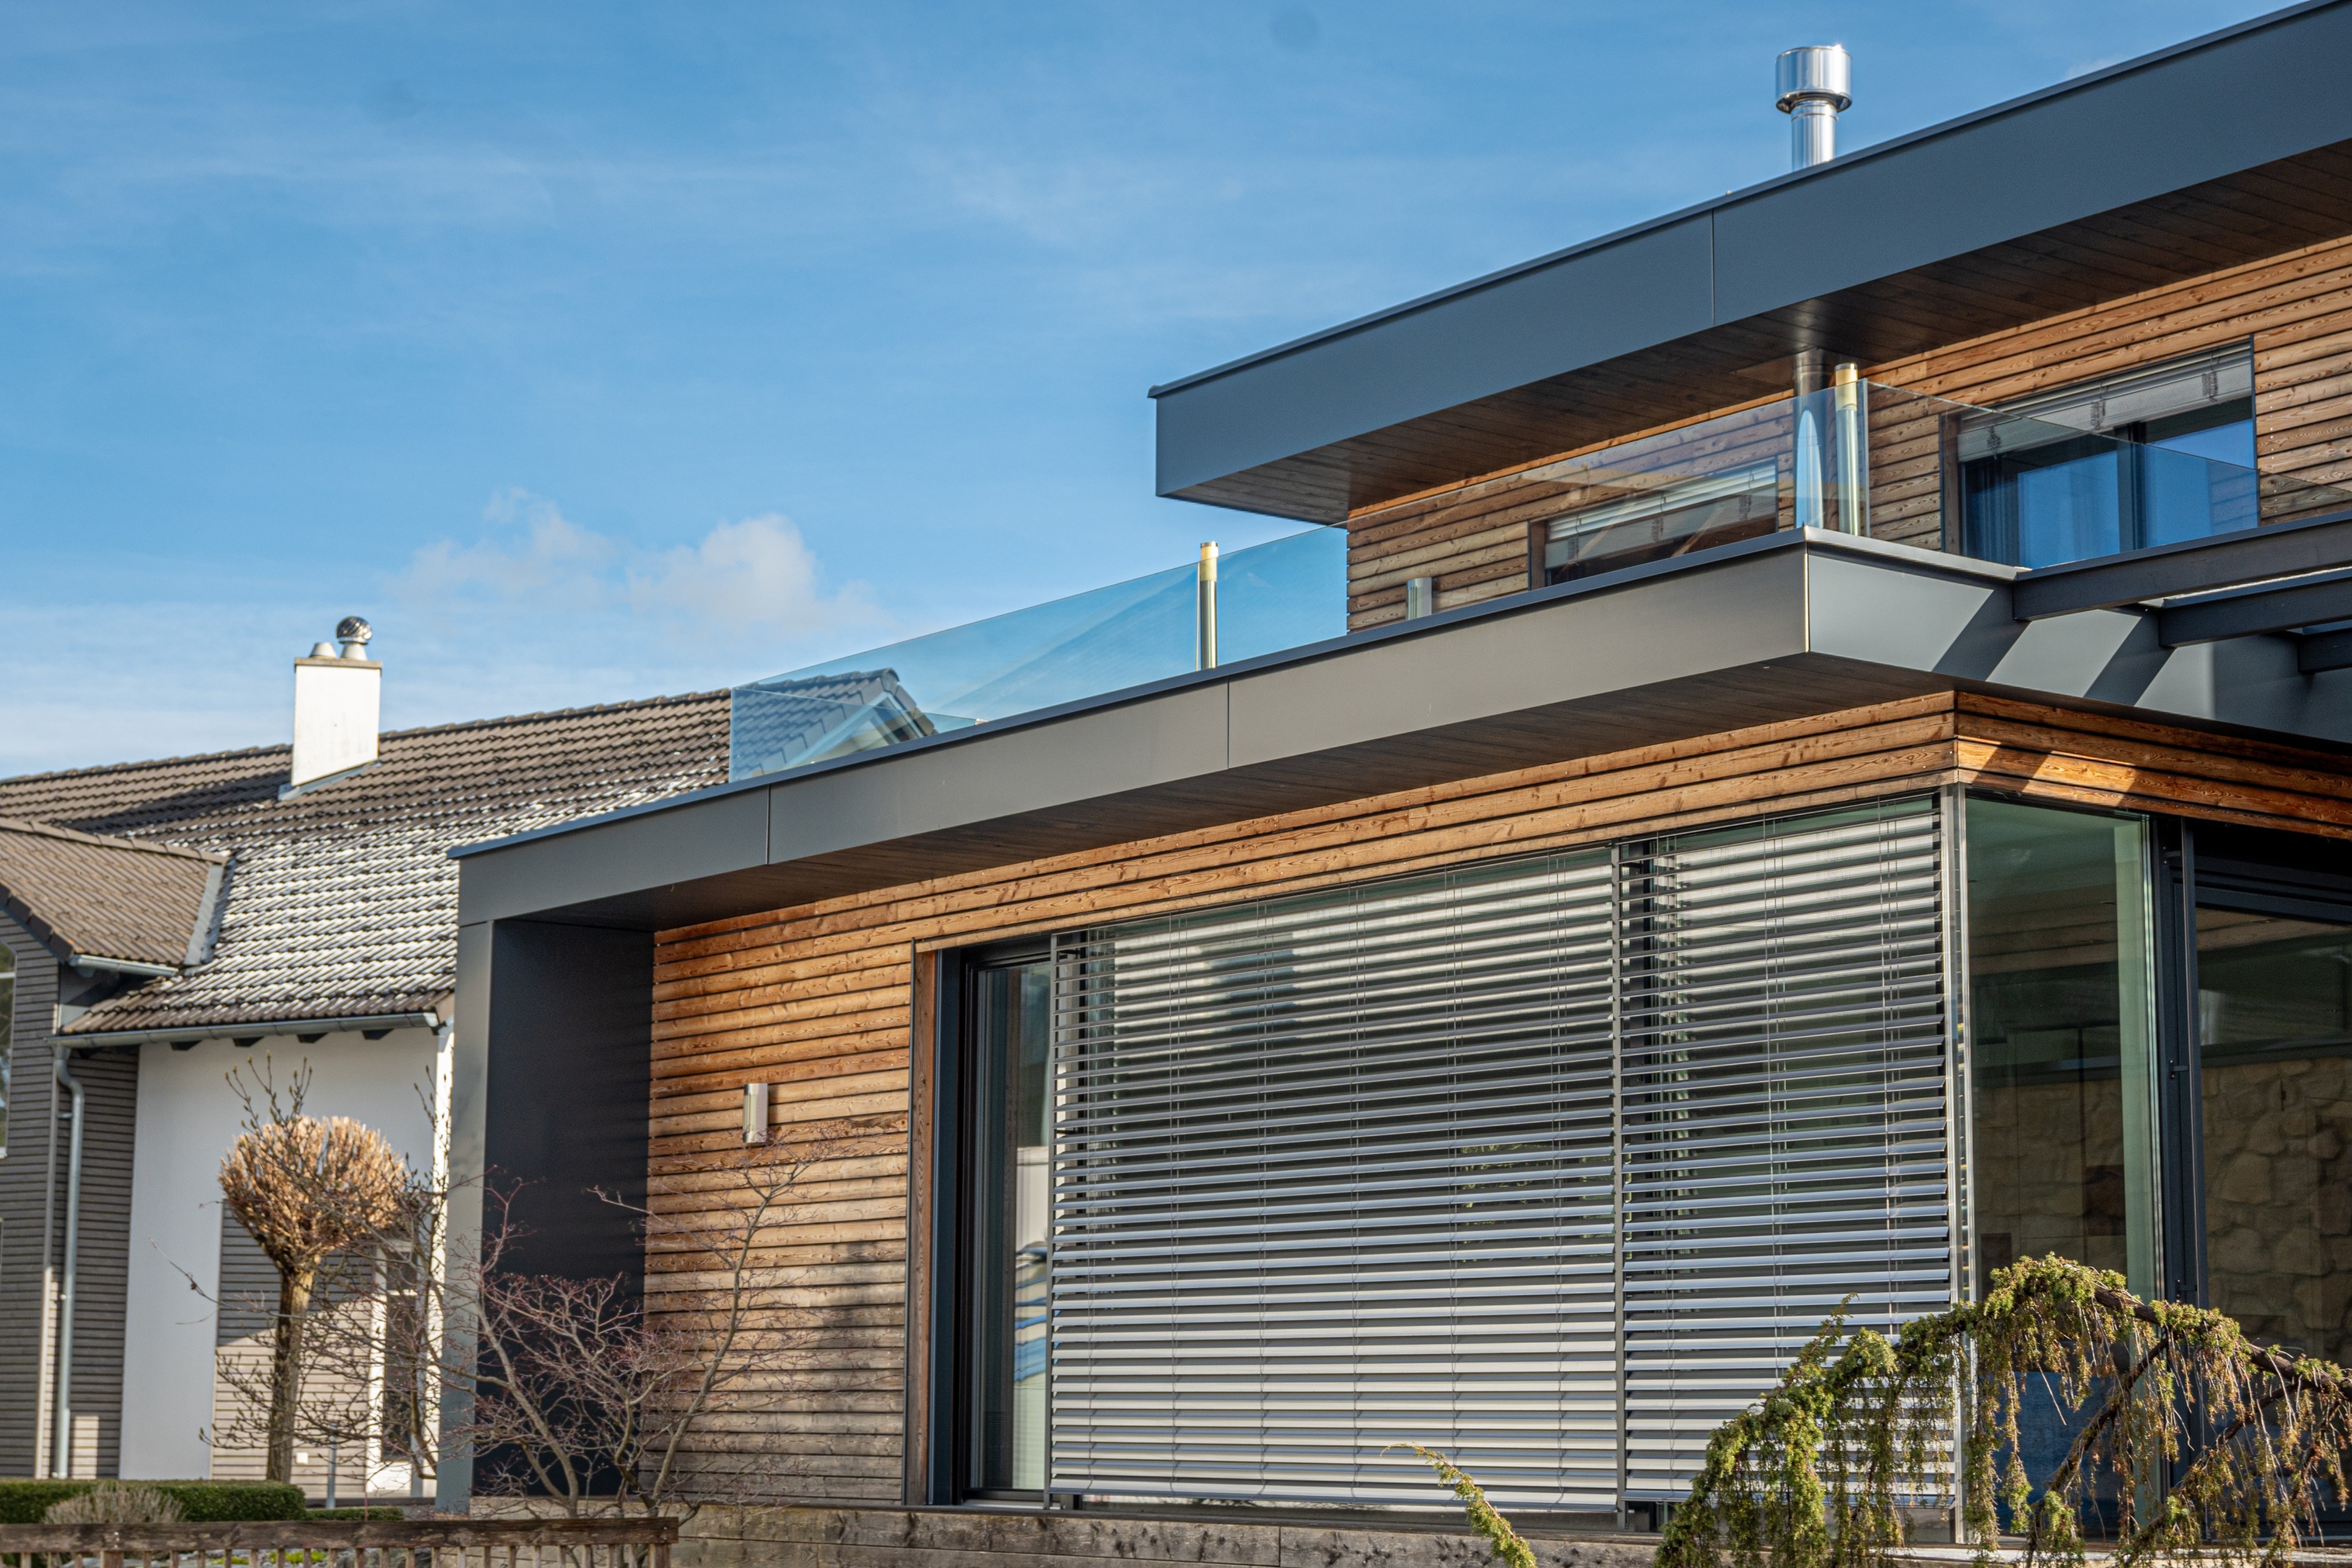
Horizontal vs vertical installation
Horizontal installation is by far the most common layout for shiplap cladding, due to its old-world cottage aesthetic. It also brings real benefits, including natural water run-off for outdoor projects.
For projects concerned with a more contemporary finish, vertical installation can be highly effective, but requires a proper cavity behind it to avoid moisture retention. It also relies on additional consideration for installers regarding drainage, ventilation, and counter-battening.
Trade tips for a better finish
A few small installation habits can make a big difference to the finished result, including:
- Presorting boards by colour and grain variation
- Starting on the most visible elevation first
- Using string lines on long runs to maintain consistency
- Avoiding overdriving nails or screws
- Keeping airflow gaps clear
- Storing timber flat and off the ground before fitting
- Acclimatising all materials before fitting
Make every shiplap project a success with NWTT
A well-installed shiplap cladding system should deliver both durability and a clean, professional finish for your customers for years to come.
Getting the fundamentals right early on helps to avoid problems later - especially for external installations.
For reliable high-quality materials, trade orders, cutting in-house, or even same-day Click & Collect orders, NWTT has locations across the North West - including Lymm and Skelmersdale - and is ready to help.