Skirting Board fitting guide by NWTT
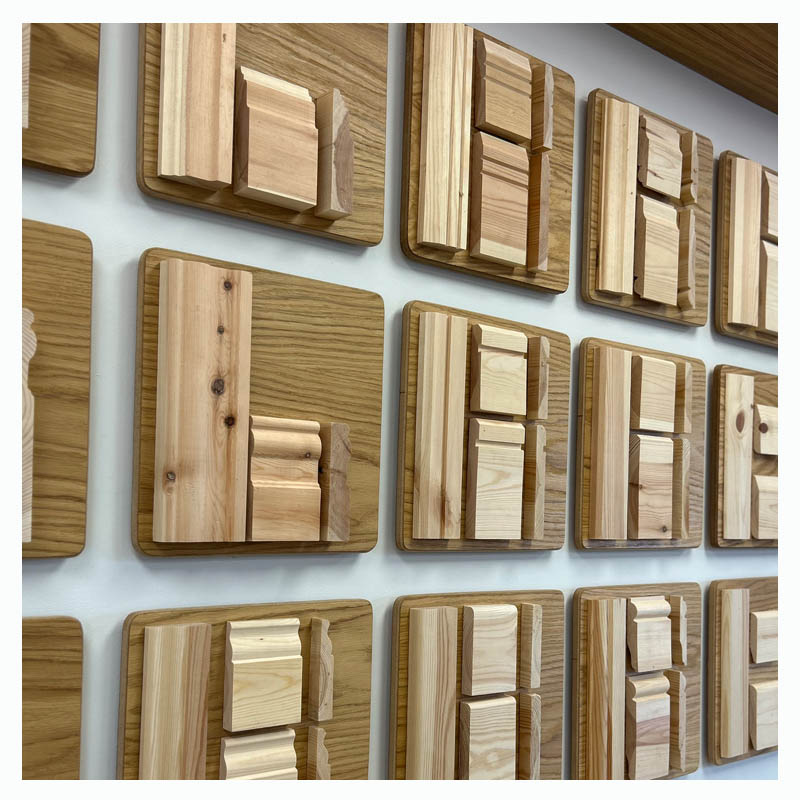
Skirting boards come in many different shapes (pencil round, torus, lambs tongue, square edge, and chamfered & round) and are primarily used to cover the gaps between walls and the floor. To ensure you achieve the desired finish that you are after, you can paint or varnish them any colour in order to suit your interior style. If you have a specific requirement, NWTT offers a bespoke machining service where we can cater to your individual needs.
What will you need?
|
|
|
|
|
|
|
|
|
|
|
|
|
|
|
|
Top tip! – When removing old skirting boards, place the blade of a bolster chisel between the wall and skirting and tap with a hammer. Prise the skirting away from the wall with a crowbar, using a thin piece of wood to protect the plaster, and lever the skirting board away from the wall.
Make sure you use the right fixings for your walls!
- Plaster walls – Try to fix into the studs with either two screws or two lost head nails. If you are unable to find the studs then fix at regular intervals.
- Stud walls – Using a stud detector, locate the studs in the wall. Use these as the fixing points (usually 400mm – 600mm apart). Fix the skirting boards with two screws or lost head nails at each fixing point.
- Masonry walls – Every 600mm, use a masonry nail or screw and plug, if replacing the skirting then try to use old fixing points. If using screws, hold the piece of skirting board against the wall and drill a pilot hole through the skirting and into the wall. Then, countersink the screw holes and insert a rawl plug before fixing with a screw. Use a small amount of wood filler to hide the screwheads and then sand to a smooth finish.
IMPORTANT - Make sure there are no cables or pipes behind the fixing points!
- Damp-proofed walls – Use only adhesive to fix skirtings as screws or nails will damage the wall.
Mitre the corners
- Using a mitre box is the cleanest way to fit skirting boards.
- Cut the end of your first piece of skirting at a 45 degree angle with a saw, sanding down any rough edges.
- Fix the skirting with the suitable method from above.
- When you are joining together two pieces of skirting at a corner, spread adhesive on the cut ends. If you are looking for extra strength, hammer in two lost head nails to either side of the corner.
Joining lengths
- If one piece of skirting won’t cover the whole length of your wall, you will need to join two pieces together.
- Mitre the end of both pieces at a 45 degree angle – one going one way and the other the opposite way. Be sure to check that they fit together correctly before fixing them.
- Glue together the cut ends of the two pieces and fix them to the wall next to the join.
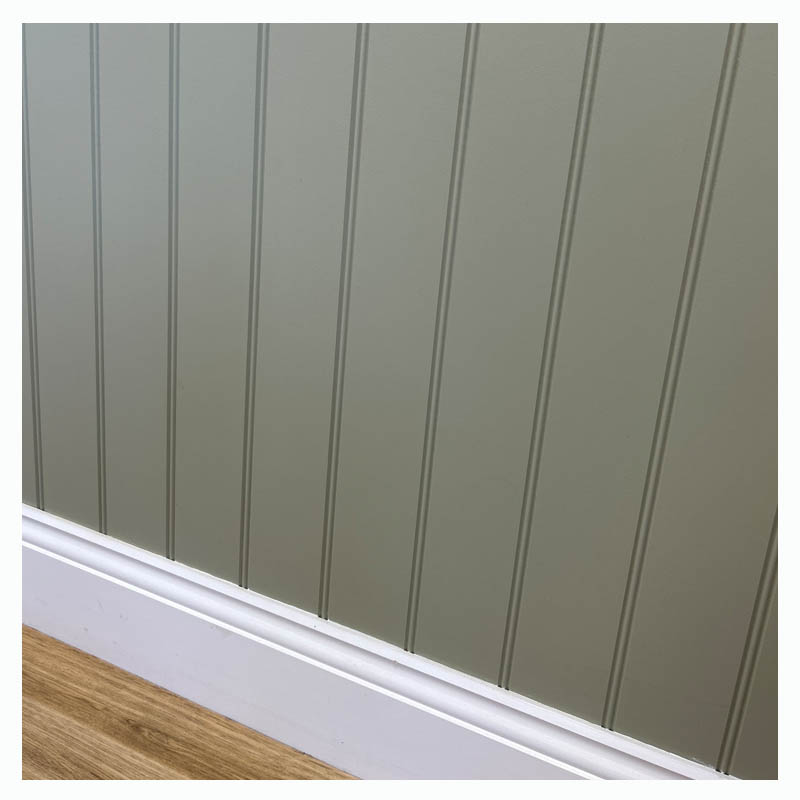
Finishing off
- Fill in any gaps between the wall and skirting with decorators caulk and leave to dry.
- If you’re going to be painting the skirting, fill in any screw or nail heads and sand them down.
- If using pine, apply knotting solution to any knots that there may be, paint on a primer, undercoat and finally a topcoat of either gloss or satin wood paint.